Checklist sections

01  Appliances & fixturesSpecify

02  Finishes & surfacesSelect

03  Services & positionsMark

04  Access & siteArrange

05  Before you enquirePrepare

Home / Kitchen Guides / Pre-Start Kitchen Renovation Checklist
Murrumbeena VIC — Kitchen guide · Pre-start checklist

What has to be decided before the demolition starts.
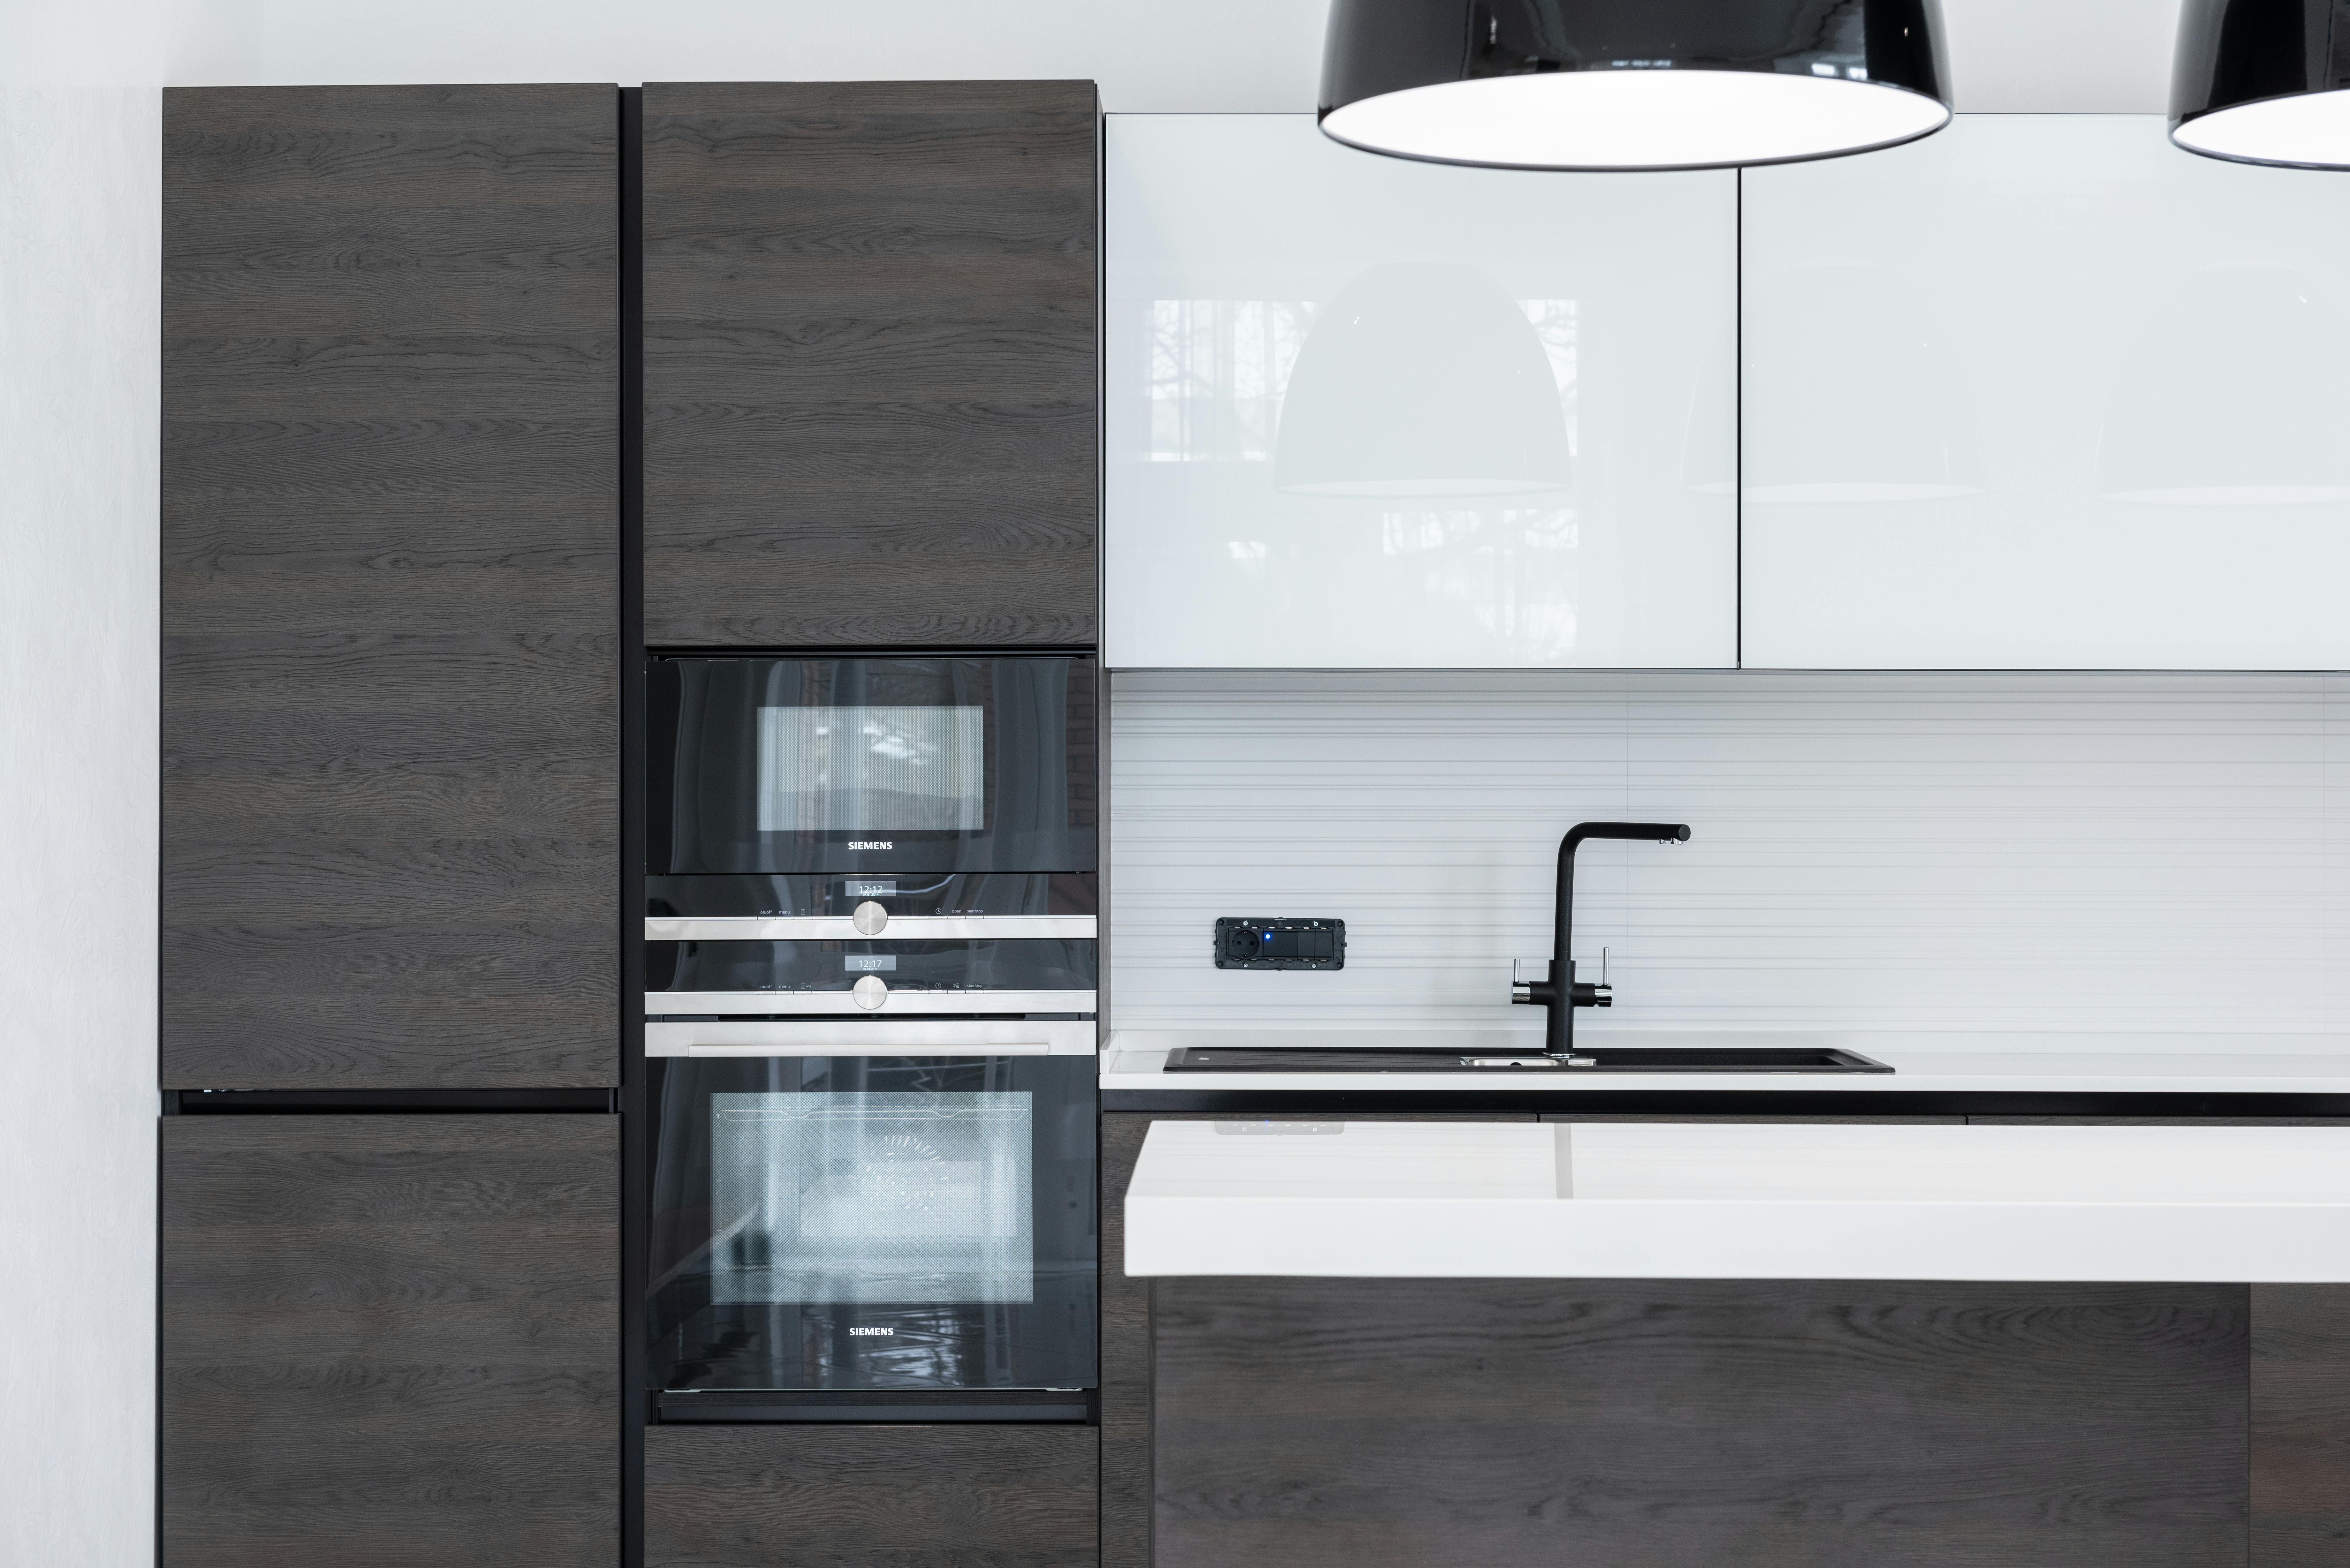
Most lost days on a kitchen job are not caused by trades. They are caused by a decision that was still open when it needed to be closed — an oven swapped for a wider model after the cabinets were cut, a tap whose spout fouls the window sill, a light point nobody marked before the plasterer arrived. Run through the items below and the job starts with nothing outstanding.
No obligation

01 — Appliances and fixtures

Appliances set the joinery, not the other way around. Cabinet openings are cut to published cut-out dimensions, so a model swapped late is a cabinet remade. Have the actual model numbers — not categories — locked before drawings are signed off.

Cut-out01  Oven and cooktop — model numbers, fuel type, and whether the cooktop is induction, gas or electric.

Venting02  Rangehood — undermount, canopy or integrated, and where the duct can physically run.

Door front03  Dishwasher — freestanding or fully integrated behind a matching door.

Cavity04  Fridge — height, width, hinge side and the ventilation gap the manufacturer requires.

Bowl05  Sink — single or double bowl, undermount or top-mount, and the cabinet width beneath it.

Clearance06  Tap — spout height and reach checked against any window above the bench.

Niche07  Microwave, coffee, bins — anything that needs its own opening, power or pull-out.

02 — Finishes and surfaces

Four surfaces carry the look of the room, and each one needs a named product rather than a mood: the cabinet door finish and colour, the benchtop slab with its edge profile, the splashback material and height, and the floor. Order samples, put them together on the bench in daylight, and decide there — not on a screen.

Joinery01  Door profile, finish and colour

Stone02  Benchtop slab, thickness and edge

Tile03  Splashback material, height and grout

Hardware04  Handles, knobs or shadow-line rail
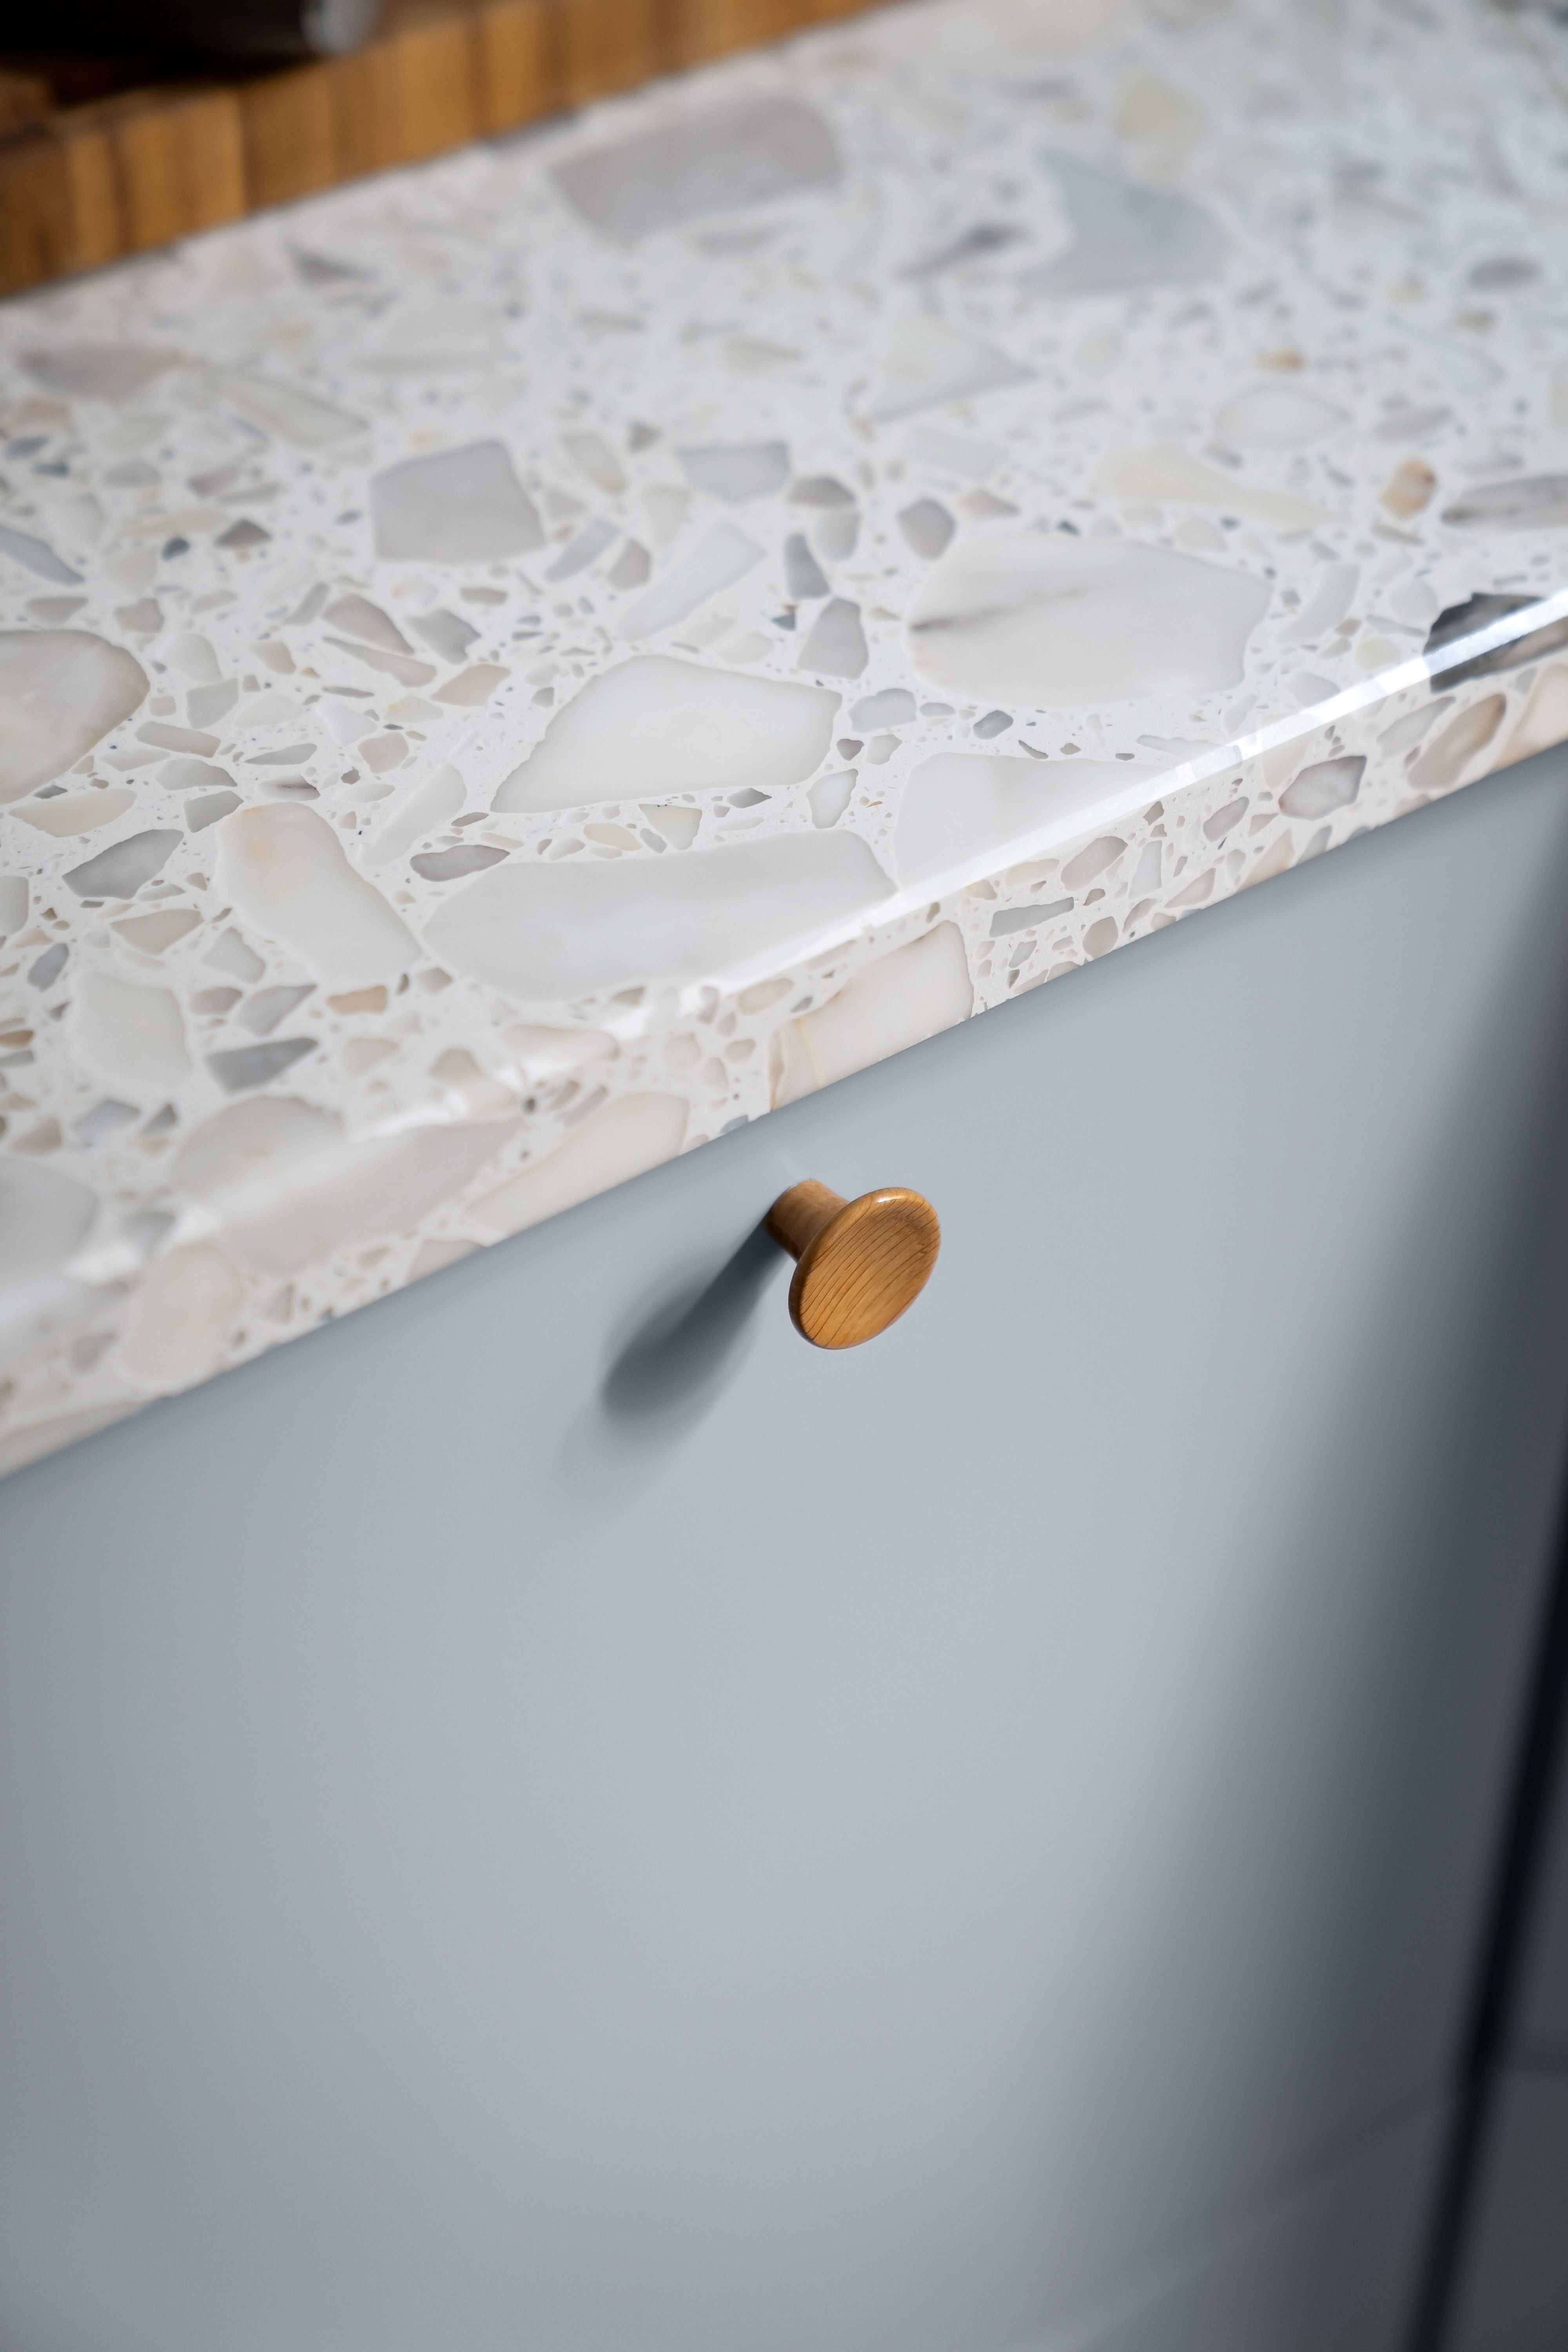
Compare surfaces in Benchtop Materials Compared and door styles in Kitchen Cabinet Ideas, then see how they are quoted under Kitchen Benchtops, Kitchen Splashbacks and Kitchen Tiling.
Close-up of a light terrazzo-style kitchen benchtop edge above a smooth grey cabinet door with a wooden knob.
Benchtop edge, door finish and handle meet in one line — decide the three together

03 — Services and positions, marked on the wall

Power, water and light are cheap to move while the walls are open and expensive to move afterwards. Walk the room with the drawings and mark the positions physically, at the heights they will sit.

Power01  Bench power points — count them against the appliances that actually live on the bench, and keep them clear of the tile setout.

Island02  Island services — power, and any waste or water if a sink is going into it, need a floor penetration set before the slab is templated.

Light03  Ceiling and pendant points — centred on the island, not the room, with switching decided at the same time. See Kitchen Lighting.

Strip04  Under-cabinet lighting — decided before cabinetry is made, because the driver has to live somewhere.

Water05  Sink and dishwasher rough-in — confirm whether the plan keeps the existing position or moves it, since relocation changes both cost and sequence.

Gas06  Gas point or induction circuit — switching a gas cooktop to induction is an electrical decision, made early.

04 — Access, and living around the work

A kitchen is delivered in large, heavy, awkward pieces. Cabinets come in on a truck, stone comes in on a trolley, and both need a clear path from the kerb to the room. In the older streets around Murrumbeena, Carnegie and Hughesdale that path is often a narrow side gate or a tight hallway corner — worth checking before delivery day rather than on it.
Plan for the gap in the middle, too. Benchtops are templated only once the cabinetry is installed and standing true, which means there is a period with cabinets but no stone, and no sink. Set up a temporary bench somewhere else in the house — kettle, microwave, a tub for washing up — and the disruption stops being a daily argument. The full sequence is set out in the 12-step renovation process.
Arrange before day one

Kerbside01  Parking and unloading space

Path02  Gate width and hallway turns

Waste03  Where the skip or bin sits

Empty04  Cupboards cleared and boxed

Safety05  Pets and children kept clear

Interim06  Temporary kitchen set up

05 — What to have ready before you enquire

A first conversation moves much faster when three things exist: rough dimensions of the room, a clear written description of the kitchen as it stands, and a budget range you are comfortable naming. The dimensions can be a sketch on paper — wall lengths, ceiling height, window and door positions. In the message field of the enquiry, write the room dimensions, which appliances are being kept and which are being replaced, your suburb and the timeframe you have in mind, plus anything awkward about the room: a window sitting low over the bench, a meter box on the kitchen wall, a floor that steps down. Photographs are useful later and can follow by reply once we are in touch.
A budget range is not a commitment. It tells us whether the sensible answer is a makeover keeping the existing layout or a complete kitchen renovation — and stops you being shown a specification that was never going to fit. Everything else is settled at the measure and design stage.
Murrumbeena VIC — Next step

Checklist done? The next item is a measure.

Send through the room, the rough dimensions and what you want changed, and we will take it from there — through design, cabinetry, benchtops and splashbacks to handover. Prefer to ask a question first? Use the contact form.