Murrumbeena VIC — Kitchen guide · Lighting & electrical setout
Kitchen lighting in three layers, set out before the wiring goes in.
Lighting is the last thing most people think about and the first thing they notice once the kitchen is finished. Stand at the sink under a single ceiling fitting and your own shoulders throw a shadow across the bowl. Layer the light instead — a general wash overhead, task light on the working surfaces, and one feature element over the island — and the room works at seven in the morning and at eight at night. The catch is that almost every one of those decisions is an electrical decision, and electrical decisions are made on the drawing, not on site.
The three layers
01 AmbientCeiling
02 TaskBench
03 FeatureIsland
Lighting is planned alongside the joinery during Kitchen Design, so the switching, driver locations and cabinet wiring are already drawn when the electrician arrives.
No obligation
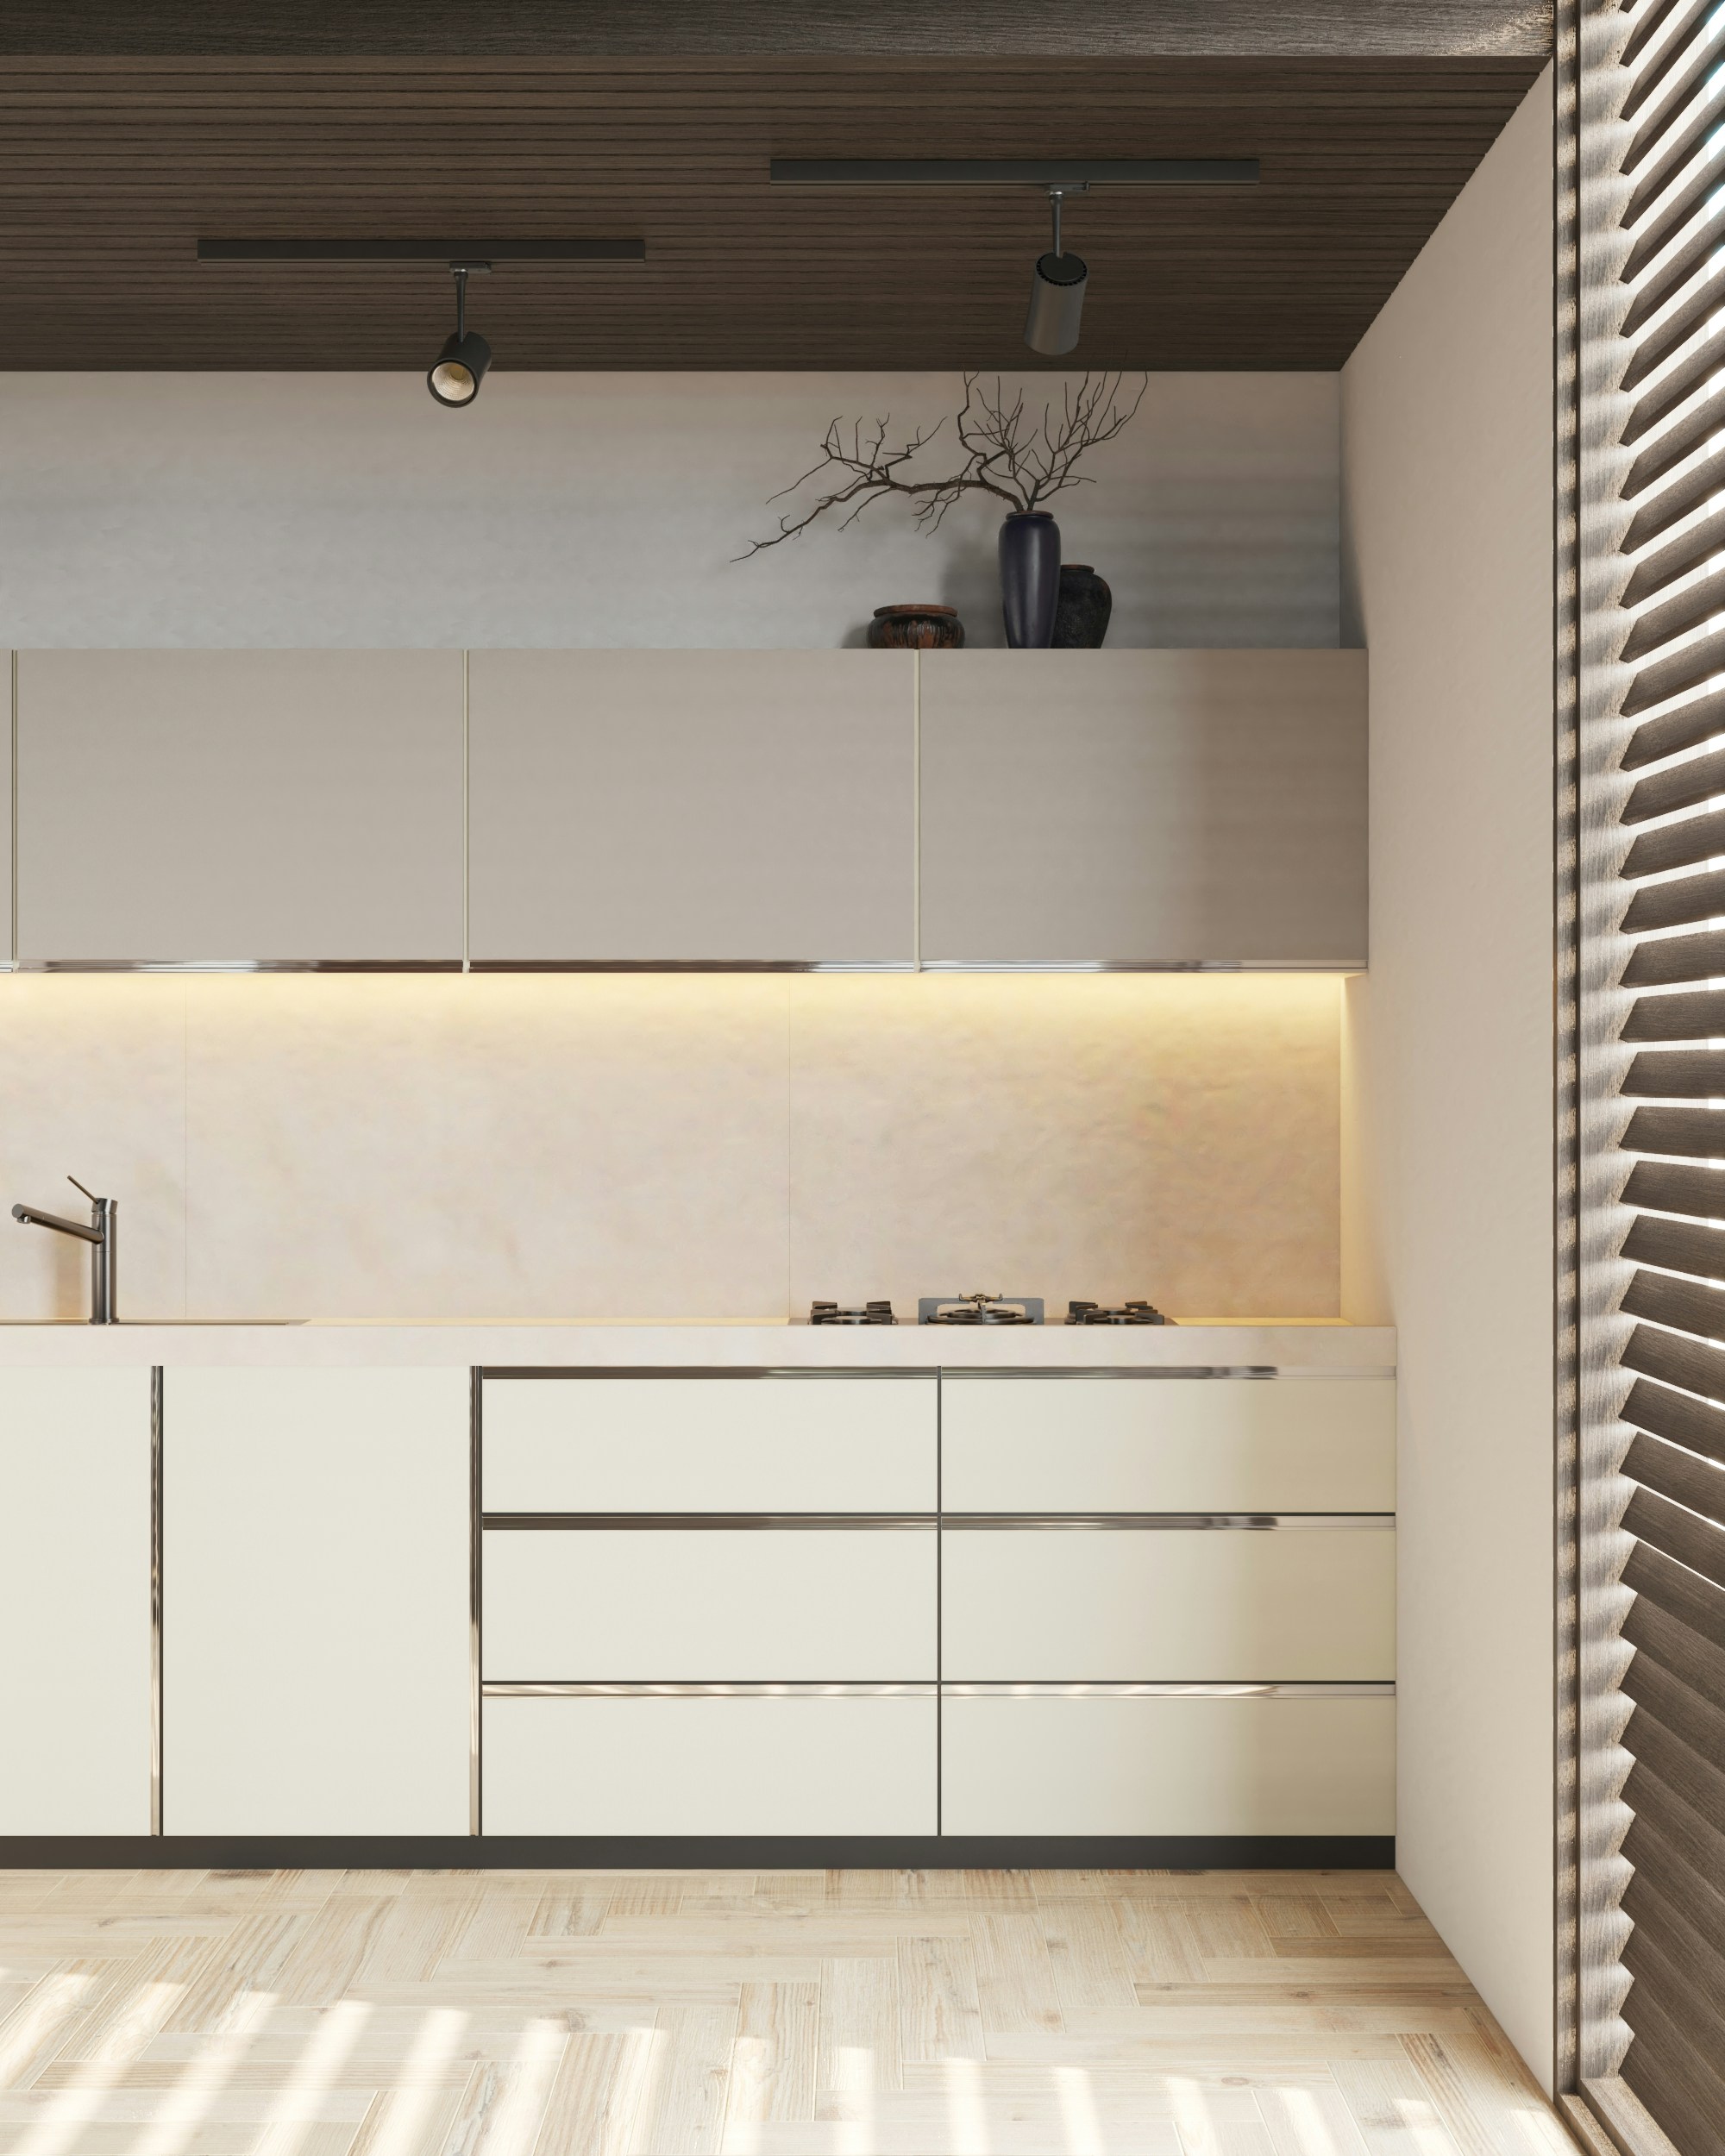
Reference photograph — under-cabinet light carried the full length of the run, with the source hidden behind the front edge of the overhead
What each layer is actually for
Ambient / task / feature
Ambient light fills the room evenly so the floor, the cupboard fronts and the far corners are all readable. It is the layer that stops a kitchen feeling like a cave when the rest of the house is lit. Task light is aimed at the surfaces you cut, read and cook on — the bench, the sink, the cooktop — and its only job is to land in front of you rather than behind you. Feature light is the one visible fitting: pendants over an island, or a shelf and cabinet glow that reads after dark. Most kitchens that feel wrong have only the first layer, doubled in brightness to compensate.
Each layer wants its own switch. Running all three off one circuit means you either flood the room or sit in the dark, and it removes the ability to leave a low glow on in an open-plan space while someone is watching television nearby.
Where the ceiling fittings go
Setout against the bench edge
The most common mistake is a tidy grid of downlights centred on the room. It looks balanced on a reflected ceiling plan and it puts every fitting behind you while you work, so your body casts a shadow straight onto the bench. Ceiling lights serving a work surface belong forward of the overhead cupboards, roughly above the front edge of the bench, so the light falls onto the surface rather than onto the cabinet doors.
01 Forward of the overheads, over the bench edgeWork runs
02 One fitting centred on the sink, not the windowSink
03 Clear of the rangehood and any bulkhead framingCooktop
04 Spaced evenly through walkways and open floorCirculation
Under-cabinet strips then do the close work. Mounted at the front of the underside of the overhead and shielded behind a batten or shadow line, they light the bench without showing a row of diodes reflected in a glossy splashback. They need a driver somewhere accessible and a wiring path through the carcass, which is why they are drawn into the cabinetry rather than added afterwards.
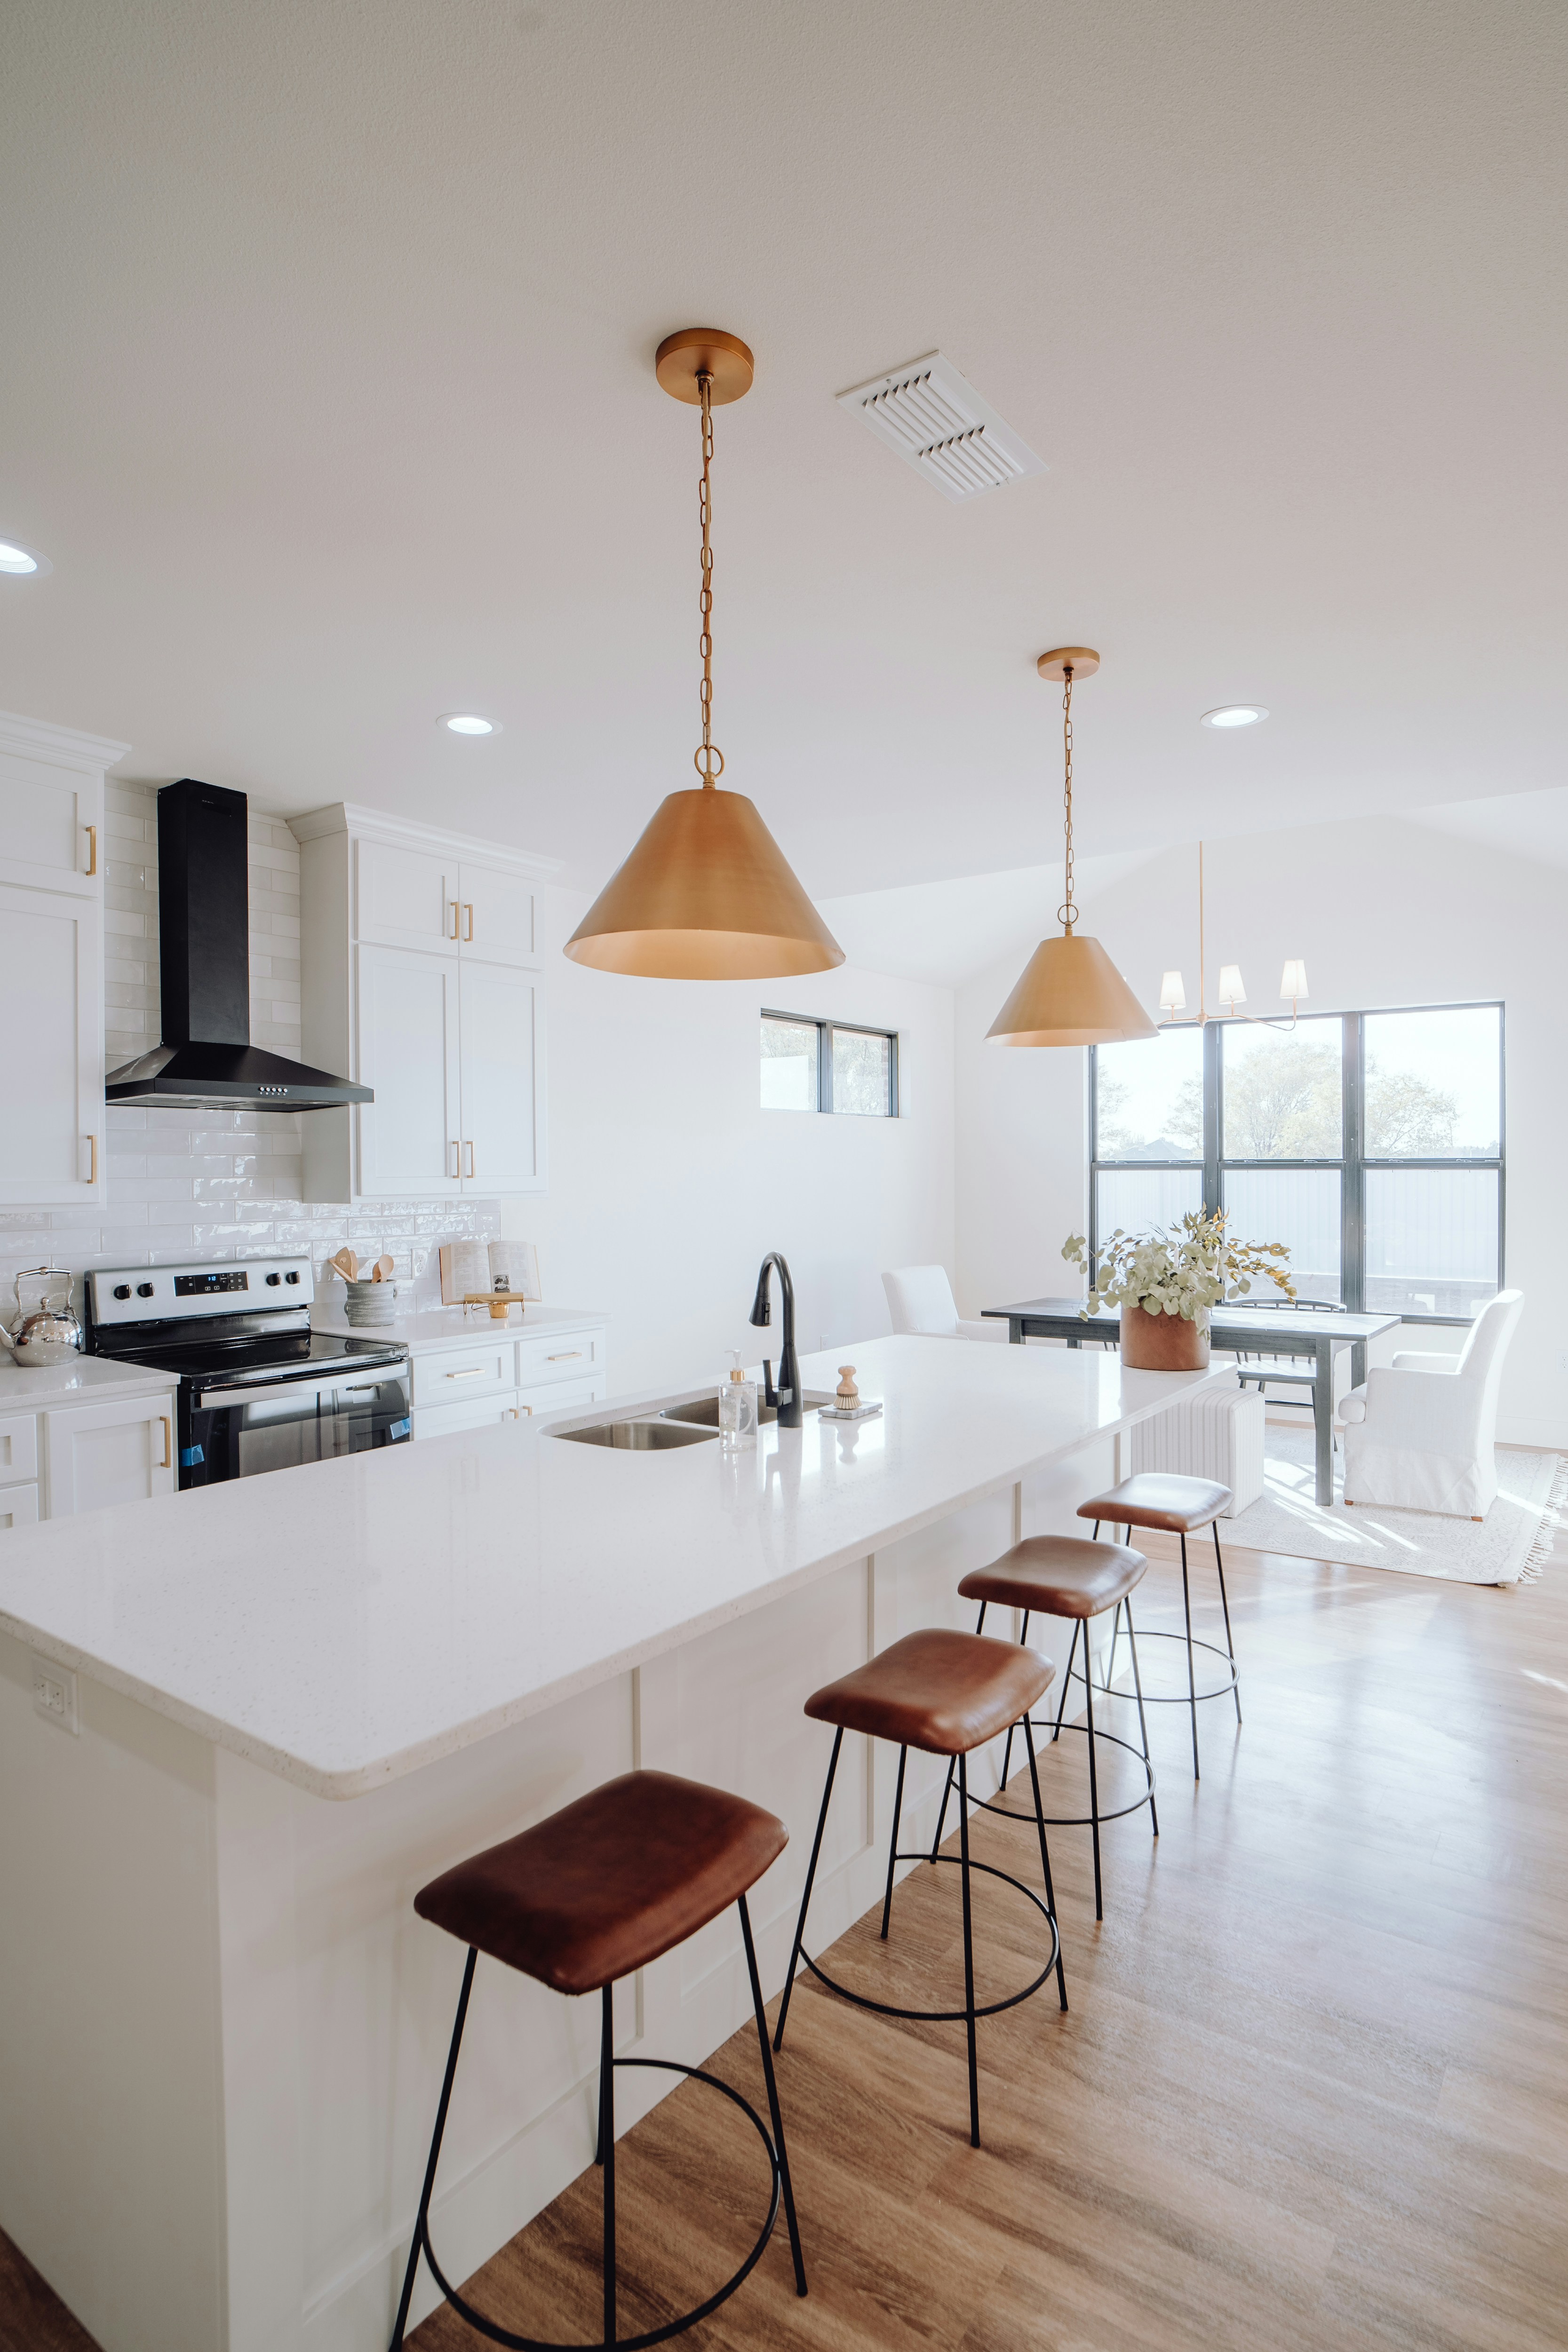
Reference photograph — pendants spaced along the island and hung clear of sightlines across the bench
Pendants over the island
Height, spacing, sightline
Height is the whole decision. Hung too low and the pendants block the view across the room; hung too high and they stop being a feature. As a working rule the base of the shade sits roughly 750 to 900mm above the benchtop — low enough to read as an object, high enough to see across when seated.
Spacing follows the island, not the ceiling. Two or three pendants are set out symmetrically along the island’s length and stopped short of the ends so they do not sit over a seated head. If the island is a different length to the one on the original drawing, the ceiling points move with it — another reason the island size is locked before the electrician roughs in.
Colour temperature, dimming and the small fittings
Keep every fitting on the same white
Mixing colour temperatures is the fastest way to make good joinery look cheap: a warm ceiling against a cold strip under the overheads turns a white door two different colours. Choose one temperature and specify it across ceiling fittings, under-cabinet strips, in-cabinet lights and pendants. A high colour rendering figure matters too — it is what lets you judge whether meat is cooked or a benchtop sample is grey or beige.
01 Warm white, close to a living room2700K
02 Neutral warm, the usual choice for kitchens3000K
03 Cool neutral, crisp but unflattering on timber4000K
If you want dimming, say so early: the fitting, the driver and the switch all have to be compatible, and retrofitting a dimmable driver into a closed cabinet is awkward work. The small fittings are worth the same forethought. In-cabinet lights behind glass doors turn a display cupboard on at night; a toe-kick strip washes the floor and makes a narrow galley read wider; a single light inside a walk-in pantry, switched by the door, saves opening the door and standing in your own shadow again.
Why lighting is a design-stage decision
Rough-in closes the window
Electrical rough-in happens after demolition and preparation and before the walls and ceiling are closed up. Everything above — ceiling points, switch positions, circuits, driver locations, cable runs into the cabinets — has to be known by then. Once plaster is on and joinery is installed, changing a light position means cutting something open, and changing a switch means chasing a wall that has just been painted.
That is why the lighting plan is drawn during Kitchen Design and priced into the scope alongside the joinery, and why it is coordinated stage by stage on a complete kitchen renovation. The full sequence, from consultation through to handover, is set out in our 12-step renovation process.
Kitchen Layouts ComparedRead guide
Kitchen Cabinet Ideas, Doors & FinishesRead guide
How to Plan a Kitchen RenovationRead guide
Murrumbeena, Carnegie, Hughesdale, Oakleigh, Chadstone, Malvern East, Bentleigh East, Ormond & McKinnon
Have the lighting drawn with the kitchen, not after it.
Send through the room, the layout you are considering and how you use the kitchen, and we will work the lighting into the design and the written scope. Questions before that can go through the contact form.