Kitchen tiling set out from the sightline, not the corner.
01 Floor tilingPorcelain
02 Wall & splashback tilingCeramic
03 Substrate levellingScreed
04 Wet-area waterproofingMembrane
05 Setout & cut planningDrawing
06 Joints, grout & sealingFinish

What sits under the tile decides how long it lasts.
01 Substrate check — old vinyl, cork and adhesive residue come up, sheet flooring is re-fixed where it moves, and timber floors are checked for deflection before anything rigid goes over them.
02 Levelling — slabs are rarely flat, and large-format tiles are unforgiving of it. A self-levelling compound or screed brings the floor within tolerance so lippage between tiles doesn’t appear along the light from the window.
03 Waterproofing detail — membrane and bond breaker at the wet points: under and behind the sink cabinet, at the dishwasher cavity, and at floor-to-wall junctions where water has somewhere to travel.
04 Perimeter and movement joints — the gap at walls, doorways and long runs stays flexible and is finished in colour-matched silicone rather than grout, so a tight grout line doesn’t do the job a joint was meant to do.
05 Grout and sealing — grout width and colour are chosen with the tile, not after it. Epoxy grout suits heavily used floors and behind the cooktop; porous stone and unglazed surfaces are sealed before grouting so the face doesn’t stain.
Setout is struck from the line you look at most.
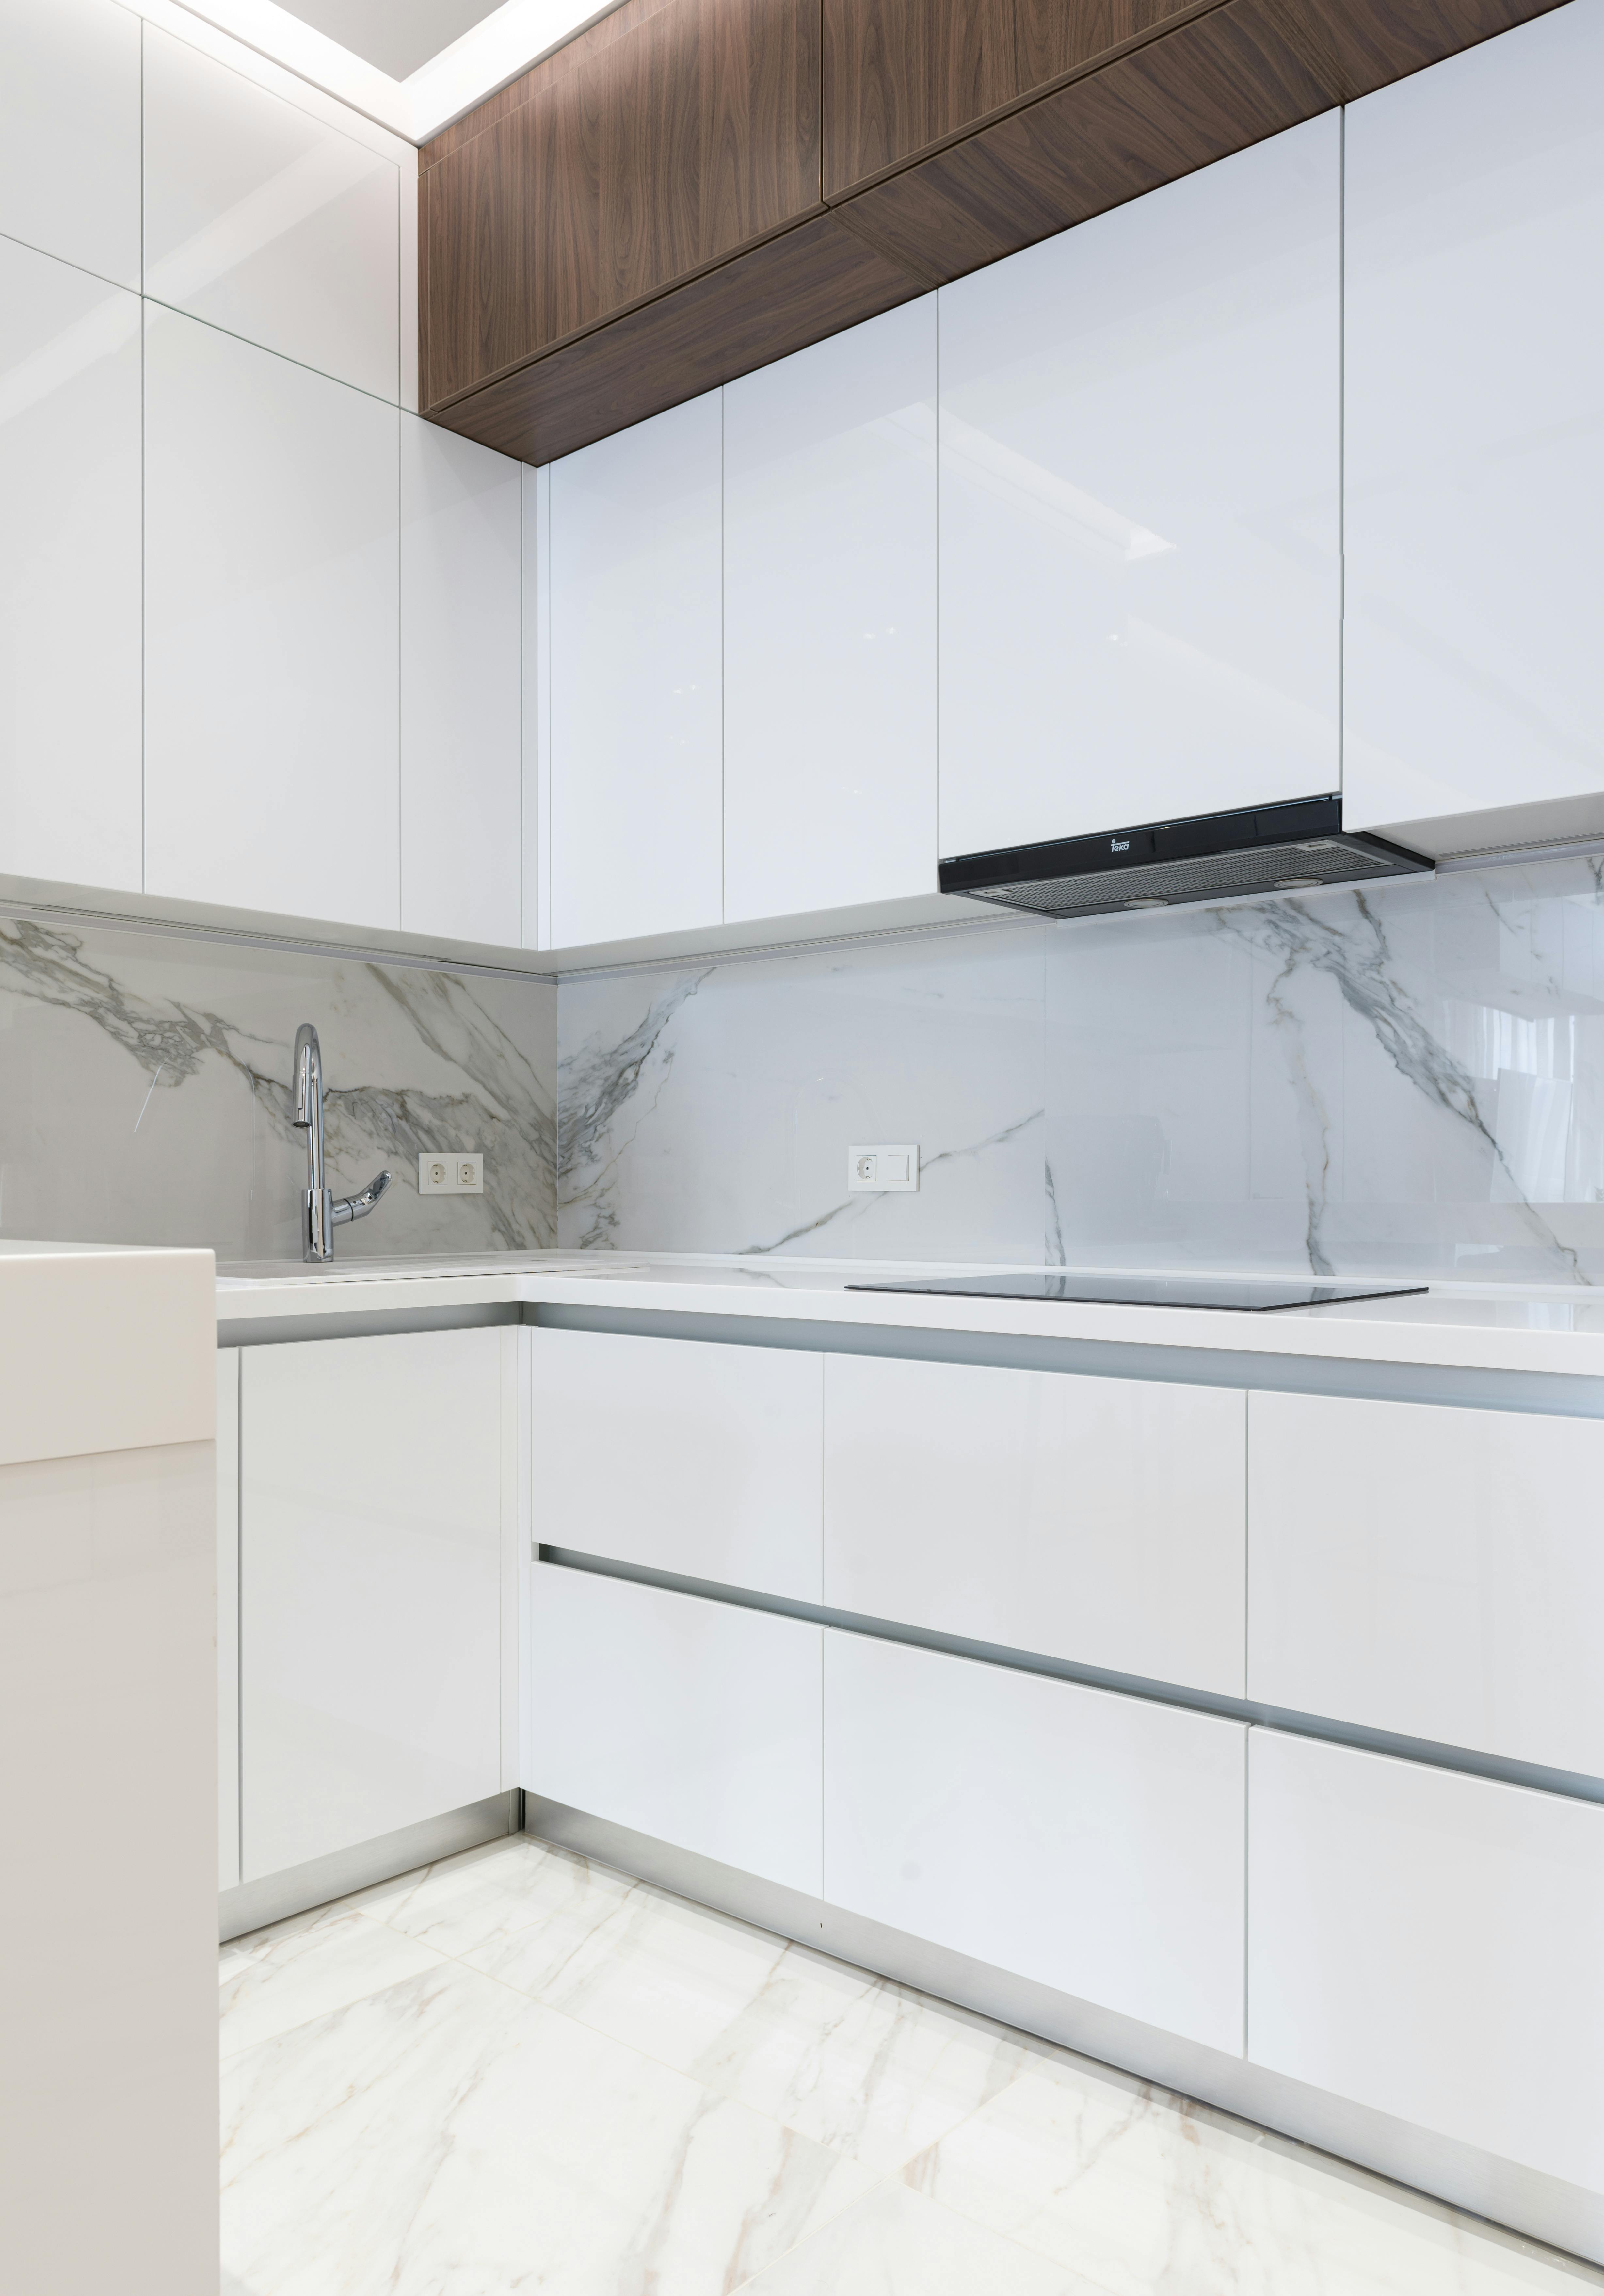
Wall tiles are centred on the thing the eye fixes on — the cooktop, the window reveal, the range niche — so the full tiles land where they are seen and the cuts are pushed to the ends, behind the tall pantry or above the rangehood. Floor tiles are set to the longest sightline through the room, usually the run from the doorway along the island, with the cut row sized so it never drops below roughly a third of a tile against the joinery.
Everything is dry-laid before it is fixed: the grout line of the splashback is lined up with the benchtop join and the window frame where it can be, returns are mitred rather than butt-cut, and the number of cuts is counted rather than discovered.
Tile formats and how each one behaves.
01 PorcelainFloors
Dense and low-absorption, which is why it takes the traffic in front of the sink and the dishwasher. Rectified edges allow tight joints; through-body colour hides chips on an exposed edge.
02 CeramicWalls
Lighter and easier to cut, with the widest colour and glaze range. Suited to walls and splashbacks rather than floors, where the glaze wears.
03 SubwayBond
The bond does the work: brick, stack, vertical or herringbone all read differently from the same tile. Grout colour decides whether the pattern shouts or disappears.
04 MosaicSheet
Sold on sheets, so the sheet joins have to vanish into the pattern. More grout per square metre means more maintenance, but it handles small returns and shaped areas that a large tile cannot.
05 Large formatTolerance
Fewer joints and a calmer floor, but the substrate must be genuinely flat. Back-buttering, levelling clips and two people on the sheet are part of the method, not an extra.
06 Stone & terrazzo-lookSealing
Porous faces are sealed before grouting and re-sealed on a cycle. Batch variation is real — tiles are shuffled across boxes during laying so one dark box doesn’t land in one corner.
Floor tiling and cabinetry: which goes down first.
Option A — Tile the full floor first
The tile runs wall to wall and the joinery is set on top of a finished surface. More tile and more cost, but appliance and kickboard heights are taken from the final floor level, and a dishwasher or oven can be swapped years later without meeting a tile edge or a step.
Option B — Tile to the kickboard line
Cabinetry is installed and levelled first, and tiling stops under the kick. Less tile, less waste and a shorter day on site — provided the kickboard height and the underbench appliance cavities are set against the finished floor level from the start.