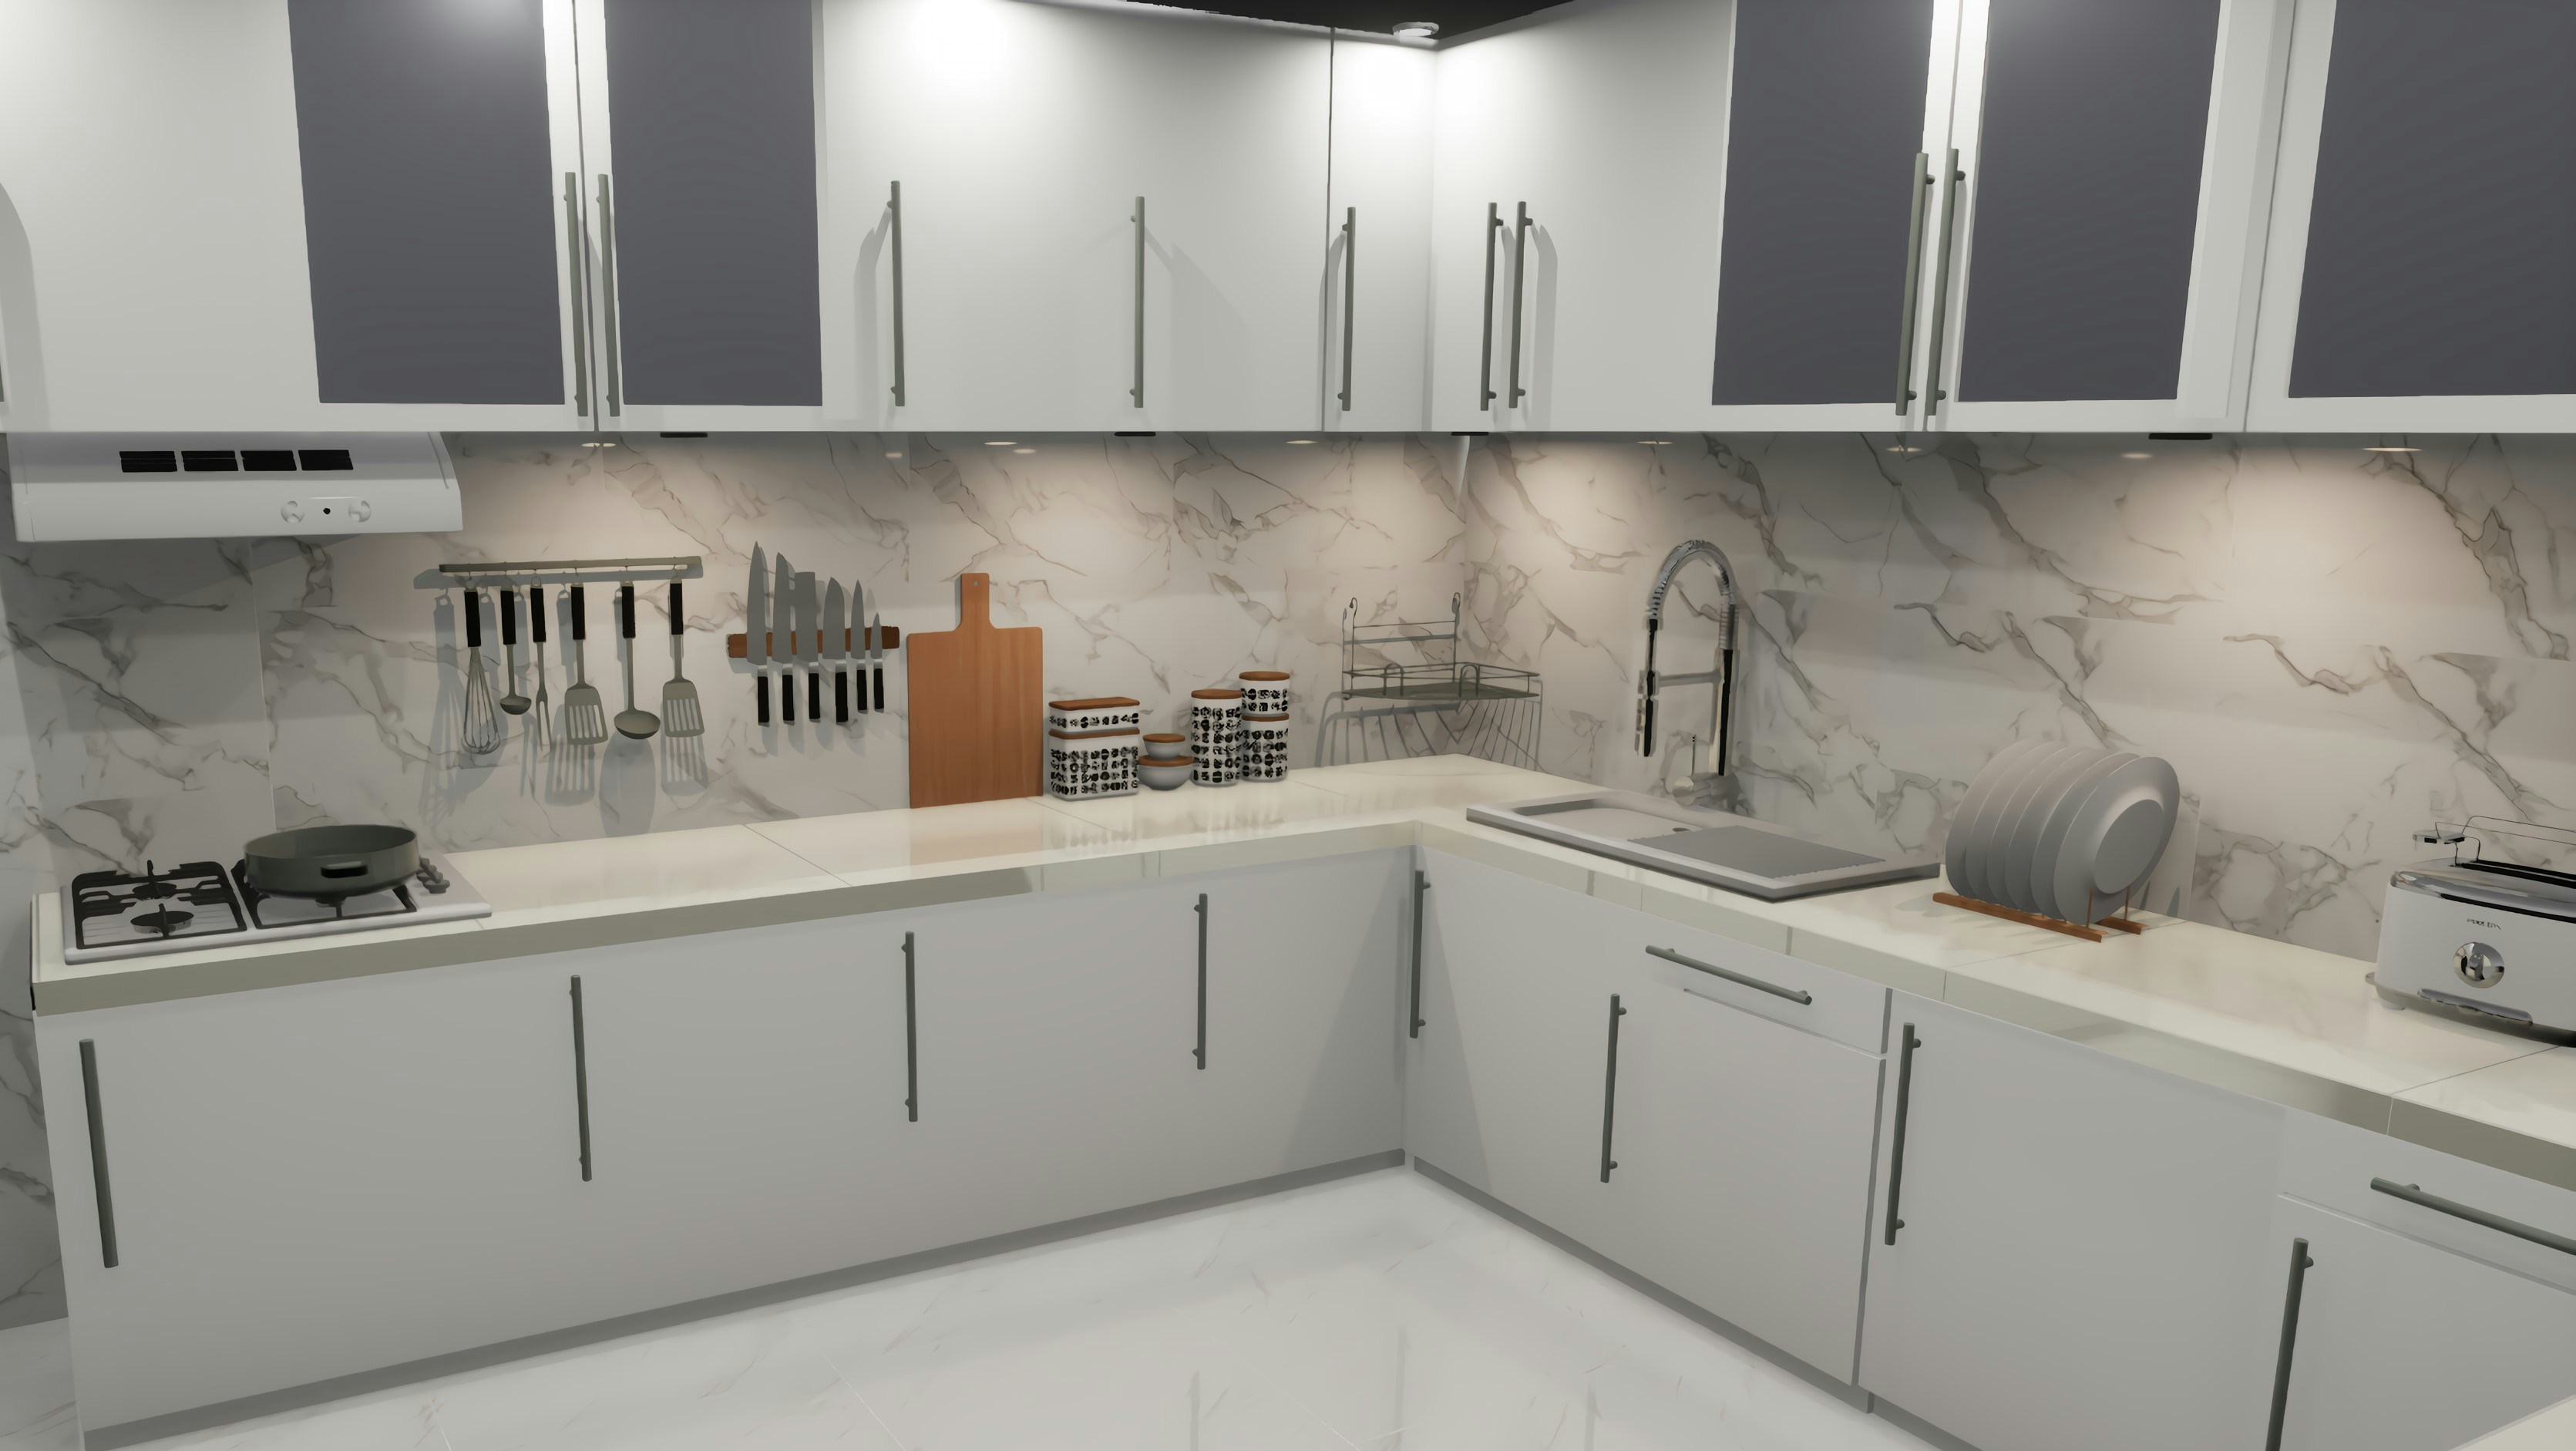
Reference photograph — a full-height slab splashback carried behind the cooktop with no horizontal joint
Murrumbeena VIC — Kitchen guide · Splashbacks
Choosing a kitchen splashback: tile, slab or glass.
It is the smallest surface in the room and the one your eye lands on first. The splashback sits at exactly bench height, directly in the line of sight from the doorway, and it has to survive steam, oil and a wiped cloth every day. Choose it as a material decision, a height decision and a setout decision — in that order — and it stops being the part of the job that gets improvised on site.
No obligation
Three decisions, taken in this order
Most splashback trouble is sequencing trouble. A sample gets chosen from a showroom board before anyone has agreed how high the material runs, and the setout is then worked out with a tile cutter in the room. Settle these three first and every later detail — trims, cut-outs, grout, the joint at the window — has an obvious answer.
01 MaterialTile / slab / glass
02 HeightStandard or full
03 Setout and finishGrout, edges, returns
The three materials that carry most kitchens
Porcelain panels, mirrored glass, pressed metal and timber all appear, but nearly every Murrumbeena kitchen lands on one of these three. They differ less in price than in how much detail work they ask for.
01 Tile
Widest range, most detail
Subway, square, handmade and long-format tiles all sit in the same price conversation, and colour choice is effectively unlimited. The grout lines are part of the design rather than a by-product, so the setout has to be drawn before the first sheet is spread. Damaged tiles can be replaced individually years later if a few spares are kept.
02 Stone slab
One surface, no grout
Cut from the same material as the benchtop, or a deliberately contrasting slab, and templated once the benchtop is set. It reads as a single continuous surface, wipes down in one pass, and pushes the veining of the stone into the most visible part of the room. It consumes extra slab, which is where the cost sits.
03 Toughened glass
Flat colour, exact sizes
A back-painted sheet in any colour, with the joint count kept to a minimum and nothing for grease to sit in. Every cut-out for power points and taps is made before toughening, so the measure has to be right the first time — glass cannot be trimmed on site. It suits flat-panel joinery better than framed shaker doors.

Reference photograph — tile setout read at bench height, where the grout line does the work
How high the material runs
The standard run fills the gap between the benchtop and the underside of the overhead cabinets — around 600mm in most kitchens, and less where the overheads sit low. It is the cheapest option, it hides behind the joinery, and it works well when the cabinetry is meant to be the feature.
Full height changes the room. Where a wall carries no overheads — behind a cooktop, along an open run, above a sink under a window — taking the material from bench to ceiling or to the underside of the rangehood removes a horizontal break and makes a narrow kitchen read taller. It is the obvious move with a stone slab, and it is worth the extra tiles when the tile itself is the thing you want noticed.
The cooktop zone decides it more often than anything else. A freestanding cooker or a canopy rangehood leaves an exposed panel of wall a metre and a half high; whatever goes there is the first thing seen from the living room, so it is worth resolving on the design drawing rather than at the tiling stage.
The six details that decide how it looks finished
None of these appear on a showroom sample. All of them are visible from two metres away for the life of the kitchen, and each one is a decision made before the trade starts, not during it.
01 SetoutCentred
Where the first full tile lands governs where the slivers land. Centring the setout on the cooktop or the window, rather than starting from a corner, keeps the cuts even at both ends.02 Grout colourTone
Matched grout dissolves the pattern into one field of colour; a contrasting grout draws every joint. Mid-tone grey stays looking clean longer than bright white behind a cooktop.03 Edges and trimsTermination
Every run has to stop somewhere. A slim metal trim, a mitred tile edge or a shadow gap each read differently — the choice belongs with the joinery finish, not with the tile.04 Window returnsReveals
A window above the sink interrupts the run. Returning the material into the reveal, or stopping it cleanly at the architrave, is a detail worth drawing — improvised returns are the most common visible fault.05 Power pointsCut-outs
Outlets scattered at random spoil a considered setout. Aligning them to a grout line, grouping them, or moving them under the overheads is decided at the electrical rough-in.06 Behind the rangehoodClearance
Material behind a cooktop has to suit the appliance clearances specified by the manufacturer, which rules some finishes out before taste enters the conversation.Recede, or become the feature
A kitchen can carry one loud surface. If the cabinetry is a strong colour or the benchtop is heavily veined, the splashback should step back — a quiet tile in the tone of the wall, or the same stone continued up so the two surfaces read as one. If the joinery is calm and handleless and the benchtop is near-white, the splashback is the only place left for character, and a handmade tile, a deep glaze or a dramatic slab will carry the room on its own.
Test it the way you will see it: hold the sample vertically, at bench height, under the kitchen’s own light rather than showroom downlights, and next to the actual door and benchtop samples. Gloss doubles whatever light is in the room; matt absorbs it. The order of decisions matters here too — doors first, benchtop second, splashback last, because it is the one surface easy to change direction on once the other two are locked.
Related work: Kitchen Splashbacks covers supply and installation in tile, stone, glass and full-height slab; Kitchen Tiling covers setout, waterproofing detail and grout on both walls and floors. For the surface it meets, read Benchtop Materials Compared or the Kitchen Benchtops page, and for the doors it sits against, Kitchen Cabinet Ideas.
Murrumbeena VIC — Scope of works
Have the splashback specified, not left to the day it is installed.
Material, height, setout, grout colour and every cut-out belong in the written scope alongside the cabinetry and benchtops, so the tiler or stonemason is following a drawing. Tell us the room and the look you are after and we will put it in the quote. If you have a tile or slab already in mind, send it through the contact form and we will tell you how it behaves in that position.
No obligation
Read next
Benchtop Materials ComparedStone
Kitchen Layouts ComparedPlanning
Kitchen LightingUnder-cabinet
Our 12-Step ProcessStage 10
All kitchen guidesIndex