Twelve stages, set out in the order a kitchen is actually built.
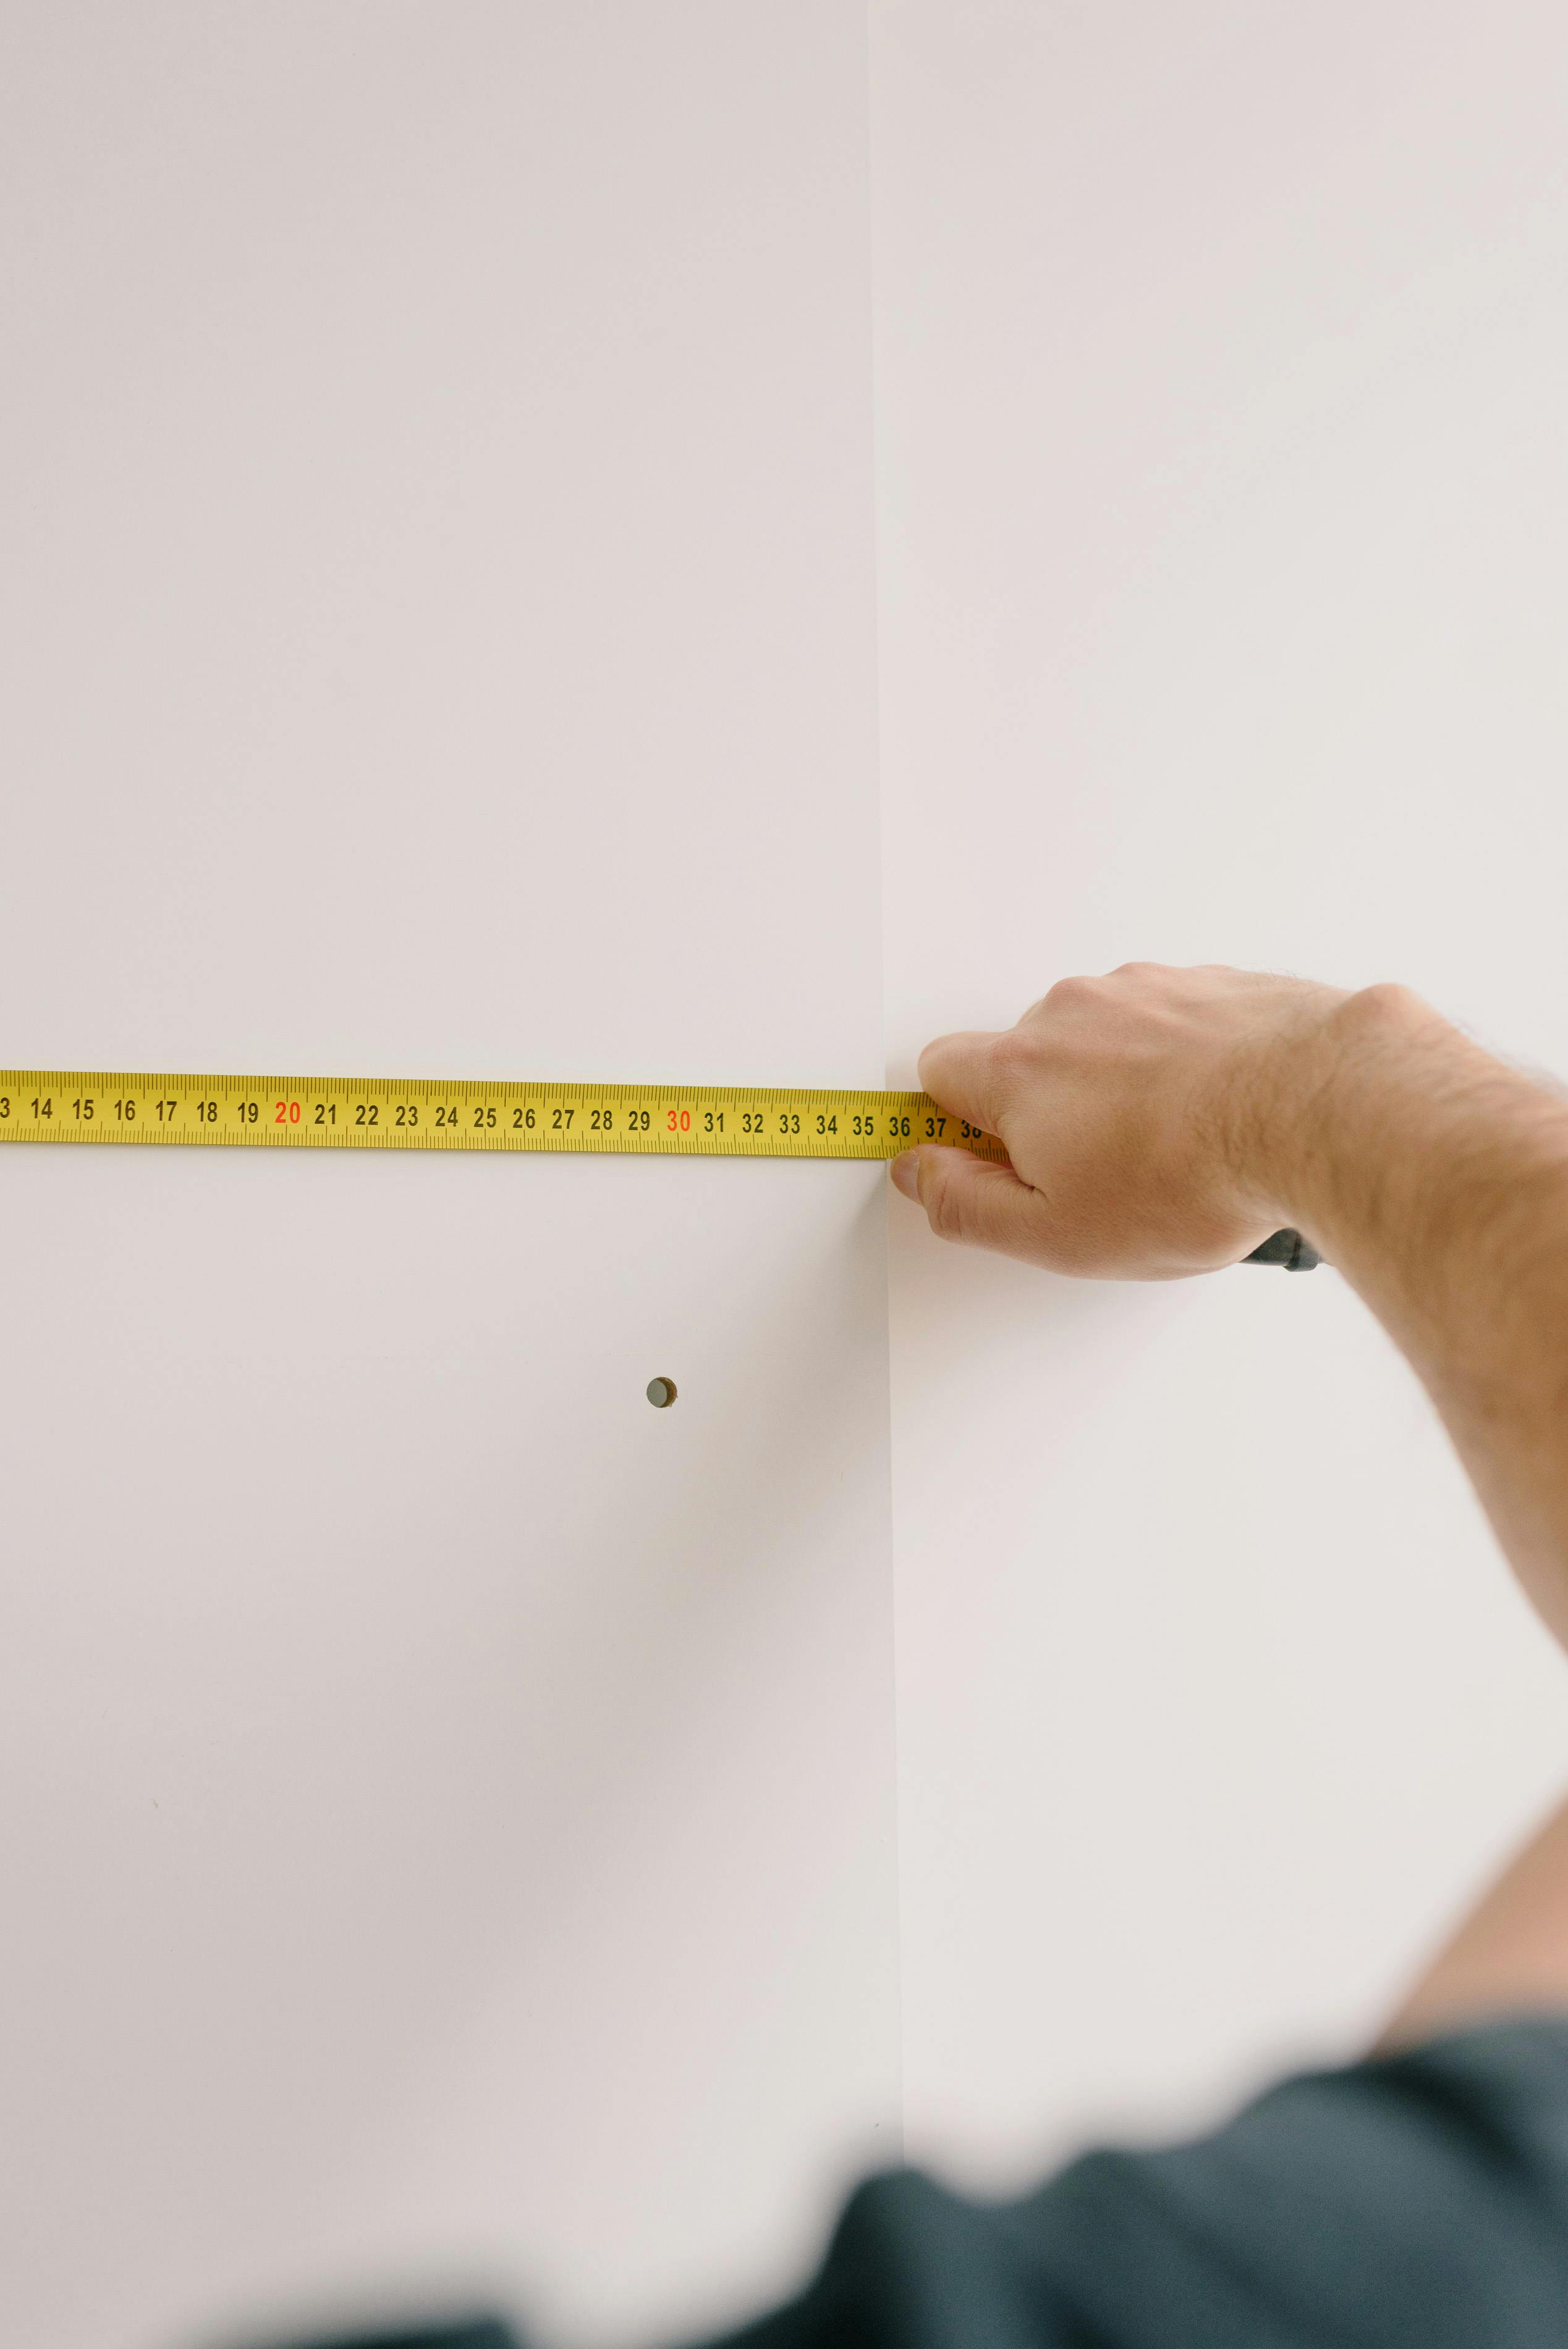
What is useful to have ready.
01 A written description of the kitchen as it standsExisting
02 What frustrates you about using itBrief
03 Appliances you intend to keep or replaceSchedule
04 A budget range you are comfortable namingRange
05 Any date the kitchen must be usable byTiming
06 Access, parking and stair notes for the tradesSite
07 Everyone who will make decisions, present at the measurePeople
The paperwork stages, where the cost is actually decided.
01 ConsultationBrief
We walk the existing kitchen with you and talk about how it is used rather than how it looks — where the bin lives, who cooks, what never gets reached. You decide the scope: whether this is a full rebuild, a remodel of the current layout, or a surface-level refresh. Nothing is measured or drawn until that scope is agreed in plain words.
02 MeasureSite
Wall lengths, ceiling heights, window reveals, floor level, and the position of every existing service point are recorded on site. Older homes across Murrumbeena and Carnegie rarely run square, so walls are checked at several heights and the out-of-square is written down, not averaged away. These numbers, not the catalogue, govern every cabinet that follows.
03 DesignDrawing
The measure becomes a layout: zones, appliance positions, drawer banks, tall storage and the clearances between them. You decide the layout and the door style; changes made here cost a pencil line. Kitchen Design explains how that planning works. The drawing has to be approved before quantities can be priced.
04 QuoteScope
The approved drawing is priced as a written scope of works — carcass and door specification, hardware, benchtop material, splashback, tiling, trades and rubbish removal, each named as its own line item. You decide what stays in and what comes out. Work is not booked until the scope is accepted, so the document you sign is the document that gets built.
05 MaterialsSelection
Colours, finishes, handles, tiles and the benchtop slab are confirmed and ordered. Some items are held in stock and some are made to order, so selections are locked before demolition rather than during it — a kitchen waiting on a door colour is a kitchen you cannot cook in. Kitchen Benchtops and Kitchen Splashbacks cover the material choices in detail.
End of the drawing-board phase — site works begin
The build, stage by stage.
06 DemolitionStrip out
Old joinery, benchtops, splashback and flooring come out, services are isolated by the licensed trades, and the room is taken back to a workable shell. Protection goes down on the route in and out of the house. This is also the stage where anything hidden behind the old cabinets — damp, a patched wall, a service running where it was not expected — comes to light and is discussed with you before it is covered again.
07 PreparationTrades
Plumbing and electrical rough-in are set to the approved drawing: waste and water relocated for the new sink position, circuits and data run for appliances, switches and under-cabinet lighting, and noggings fixed where tall units and rangehoods will land. Walls are patched and made flat, and floors levelled where the new finish demands it. Everything is positioned to millimetres off the joinery plan, because nothing here can move once cabinets are fixed.
08 CabinetryJoinery
Carcasses are set out, levelled, packed to the walls and fixed; tall units and the island are positioned; doors and drawer fronts are hung and adjusted for even gaps. Runners, hinges and internal inserts are fitted at this stage. Kitchen Cabinets and Custom Cabinetry describe how the boxes themselves are specified.
09 BenchtopsStone
Only once the cabinetry is standing and level is the benchtop templated — measured off the real run, with the real wall shapes, sink and cooktop positions captured at the same time. The slab is then cut, edged and joined off that template and installed. Waterfall ends, overhangs and any drainer grooves are settled at template, not after.
10 SplashbackTile / slab
With the benchtop down, the splashback is measured from the finished surface to the underside of the overheads and set out so the cuts fall where the eye does not. Tiled work is laid, grouted and sealed; a stone or glass slab is templated and fitted. Power points and rangehood penetrations are cut into the setout rather than tiled around as an afterthought. See Kitchen Tiling for the wet-trade detail.
11 FinishingDetail
Plumbing and electrical fit-off: tapware, sink, appliances, switches, lights and the rangehood are connected and tested. Handles go on, doors and drawers get their final adjustment, scribes and kickboards are cut in, silicone lines are run, and paintwork and cornice are made good. Small items — a drawer catching, a shadow line out by a hair — are listed and fixed here rather than left for you to notice later.
12 HandoverSign off
The room is cleaned, the site cleared, and we walk the finished kitchen with you against the scope of works, line item by line item. Appliance documentation and care notes for the benchtop and finishes are handed over, and anything outstanding is written down before the job is closed.
Each surface is measured off the one fitted before it.
Homeowners often ask whether stone can be ordered early to save time. It can be ordered early; it cannot be cut early. A benchtop is fabricated to a template taken from the installed cabinetry, because the drawing shows a wall as straight and the wall is not. Two or three millimetres of bow across a four-metre run is ordinary in a 1930s brick home, and a slab cut to the drawing rather than the template arrives with a gap you can see from the doorway.
The splashback follows the same logic one step later. Its bottom line is the top of the finished benchtop, its top line is the underside of the installed overheads, and both of those dimensions only exist once the stone is down. Setting out tile or a slab before then guarantees a tapered cut at one end.
This is also why fit-off sits near the end. Tapware holes are drilled in the benchtop at fabrication, appliances are set into openings that the joinery defines, and lights are positioned to a cabinet line. Run those trades earlier and the kitchen ends up built around the plumbing rather than the other way round.
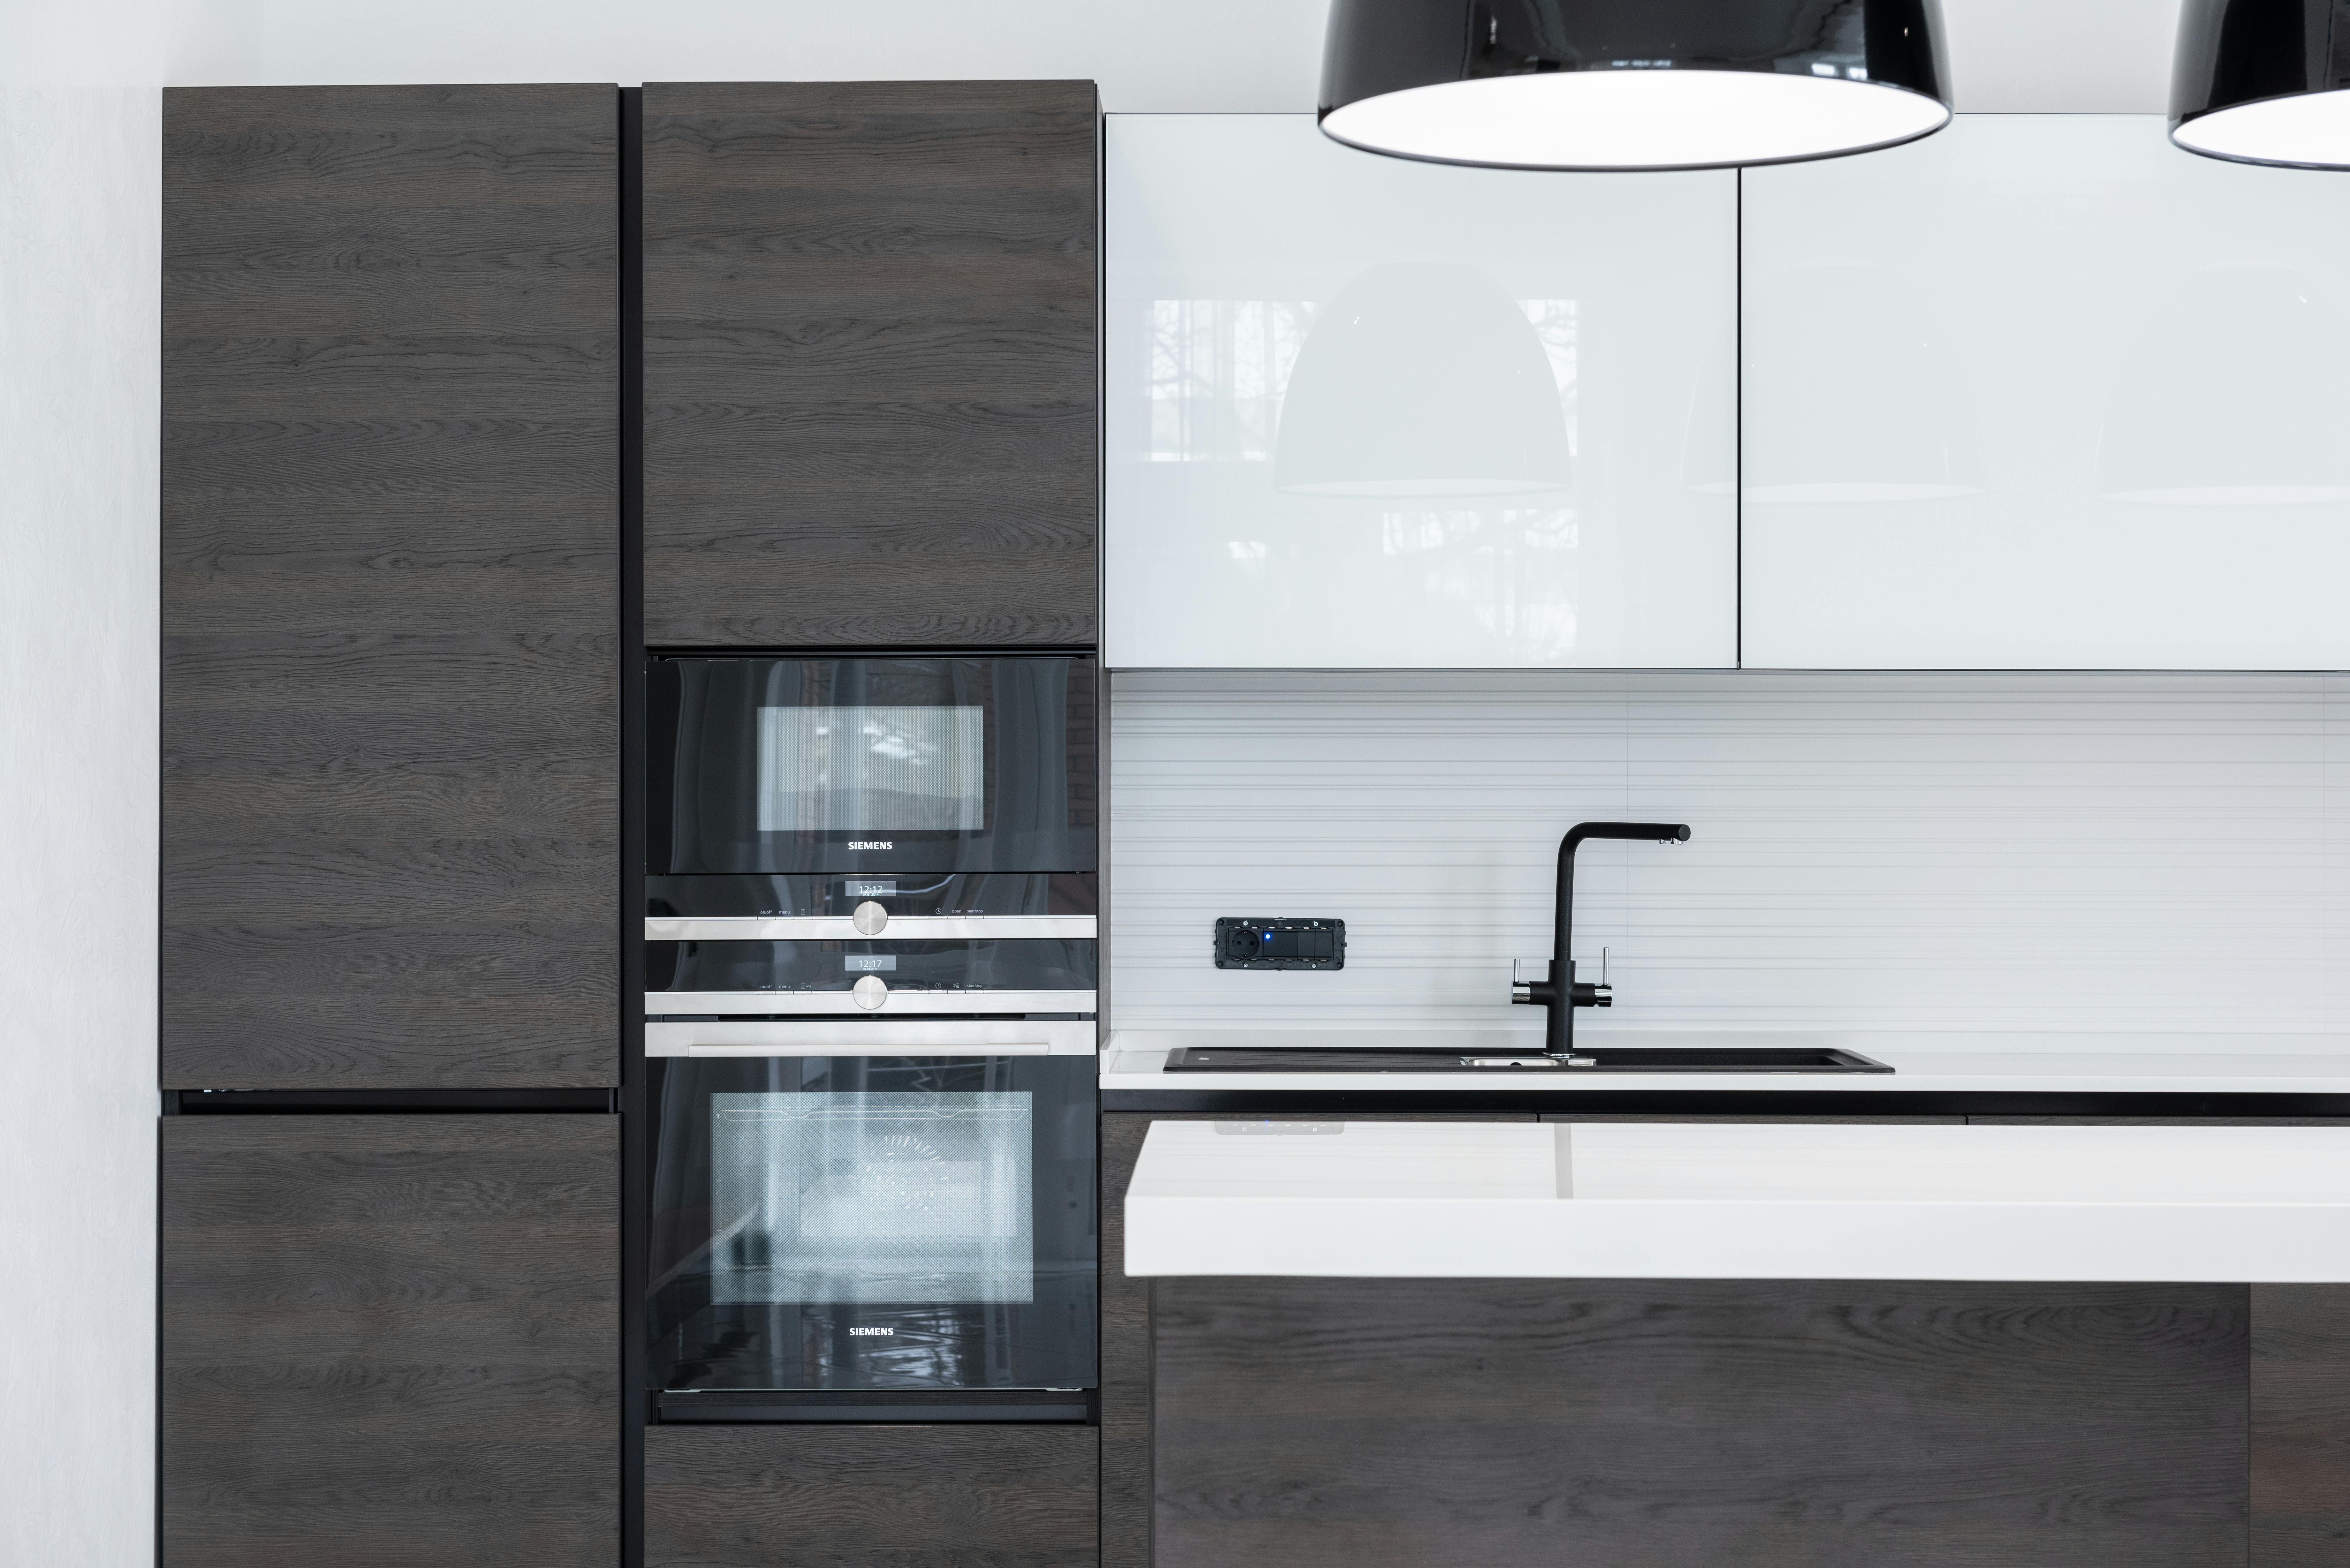
Four approvals, and what each one closes.
A Layout and door style approvedCloses stage 03
After this, cabinet sizes and appliance openings are fixed, and the drawing can be priced.
B Written scope of works acceptedCloses stage 04
Inclusions, exclusions and specifications are settled; anything added later is quoted as a variation to that document.
C Selections locked and orderedCloses stage 05
Colours, hardware, tile and slab are committed so that materials are on hand rather than chased mid-build.
D Template check before fabricationCloses stage 08
Cabinetry is level and packed, sink and cooktop are confirmed on site, and the benchtop is measured from the real thing.