Home / Kitchen Renovation Services / Kitchen Splashbacks
09  Murrumbeena VIC — Scope item · Kitchen Splashbacks

Kitchen splashbacks: the last surface fitted, the first one seen.
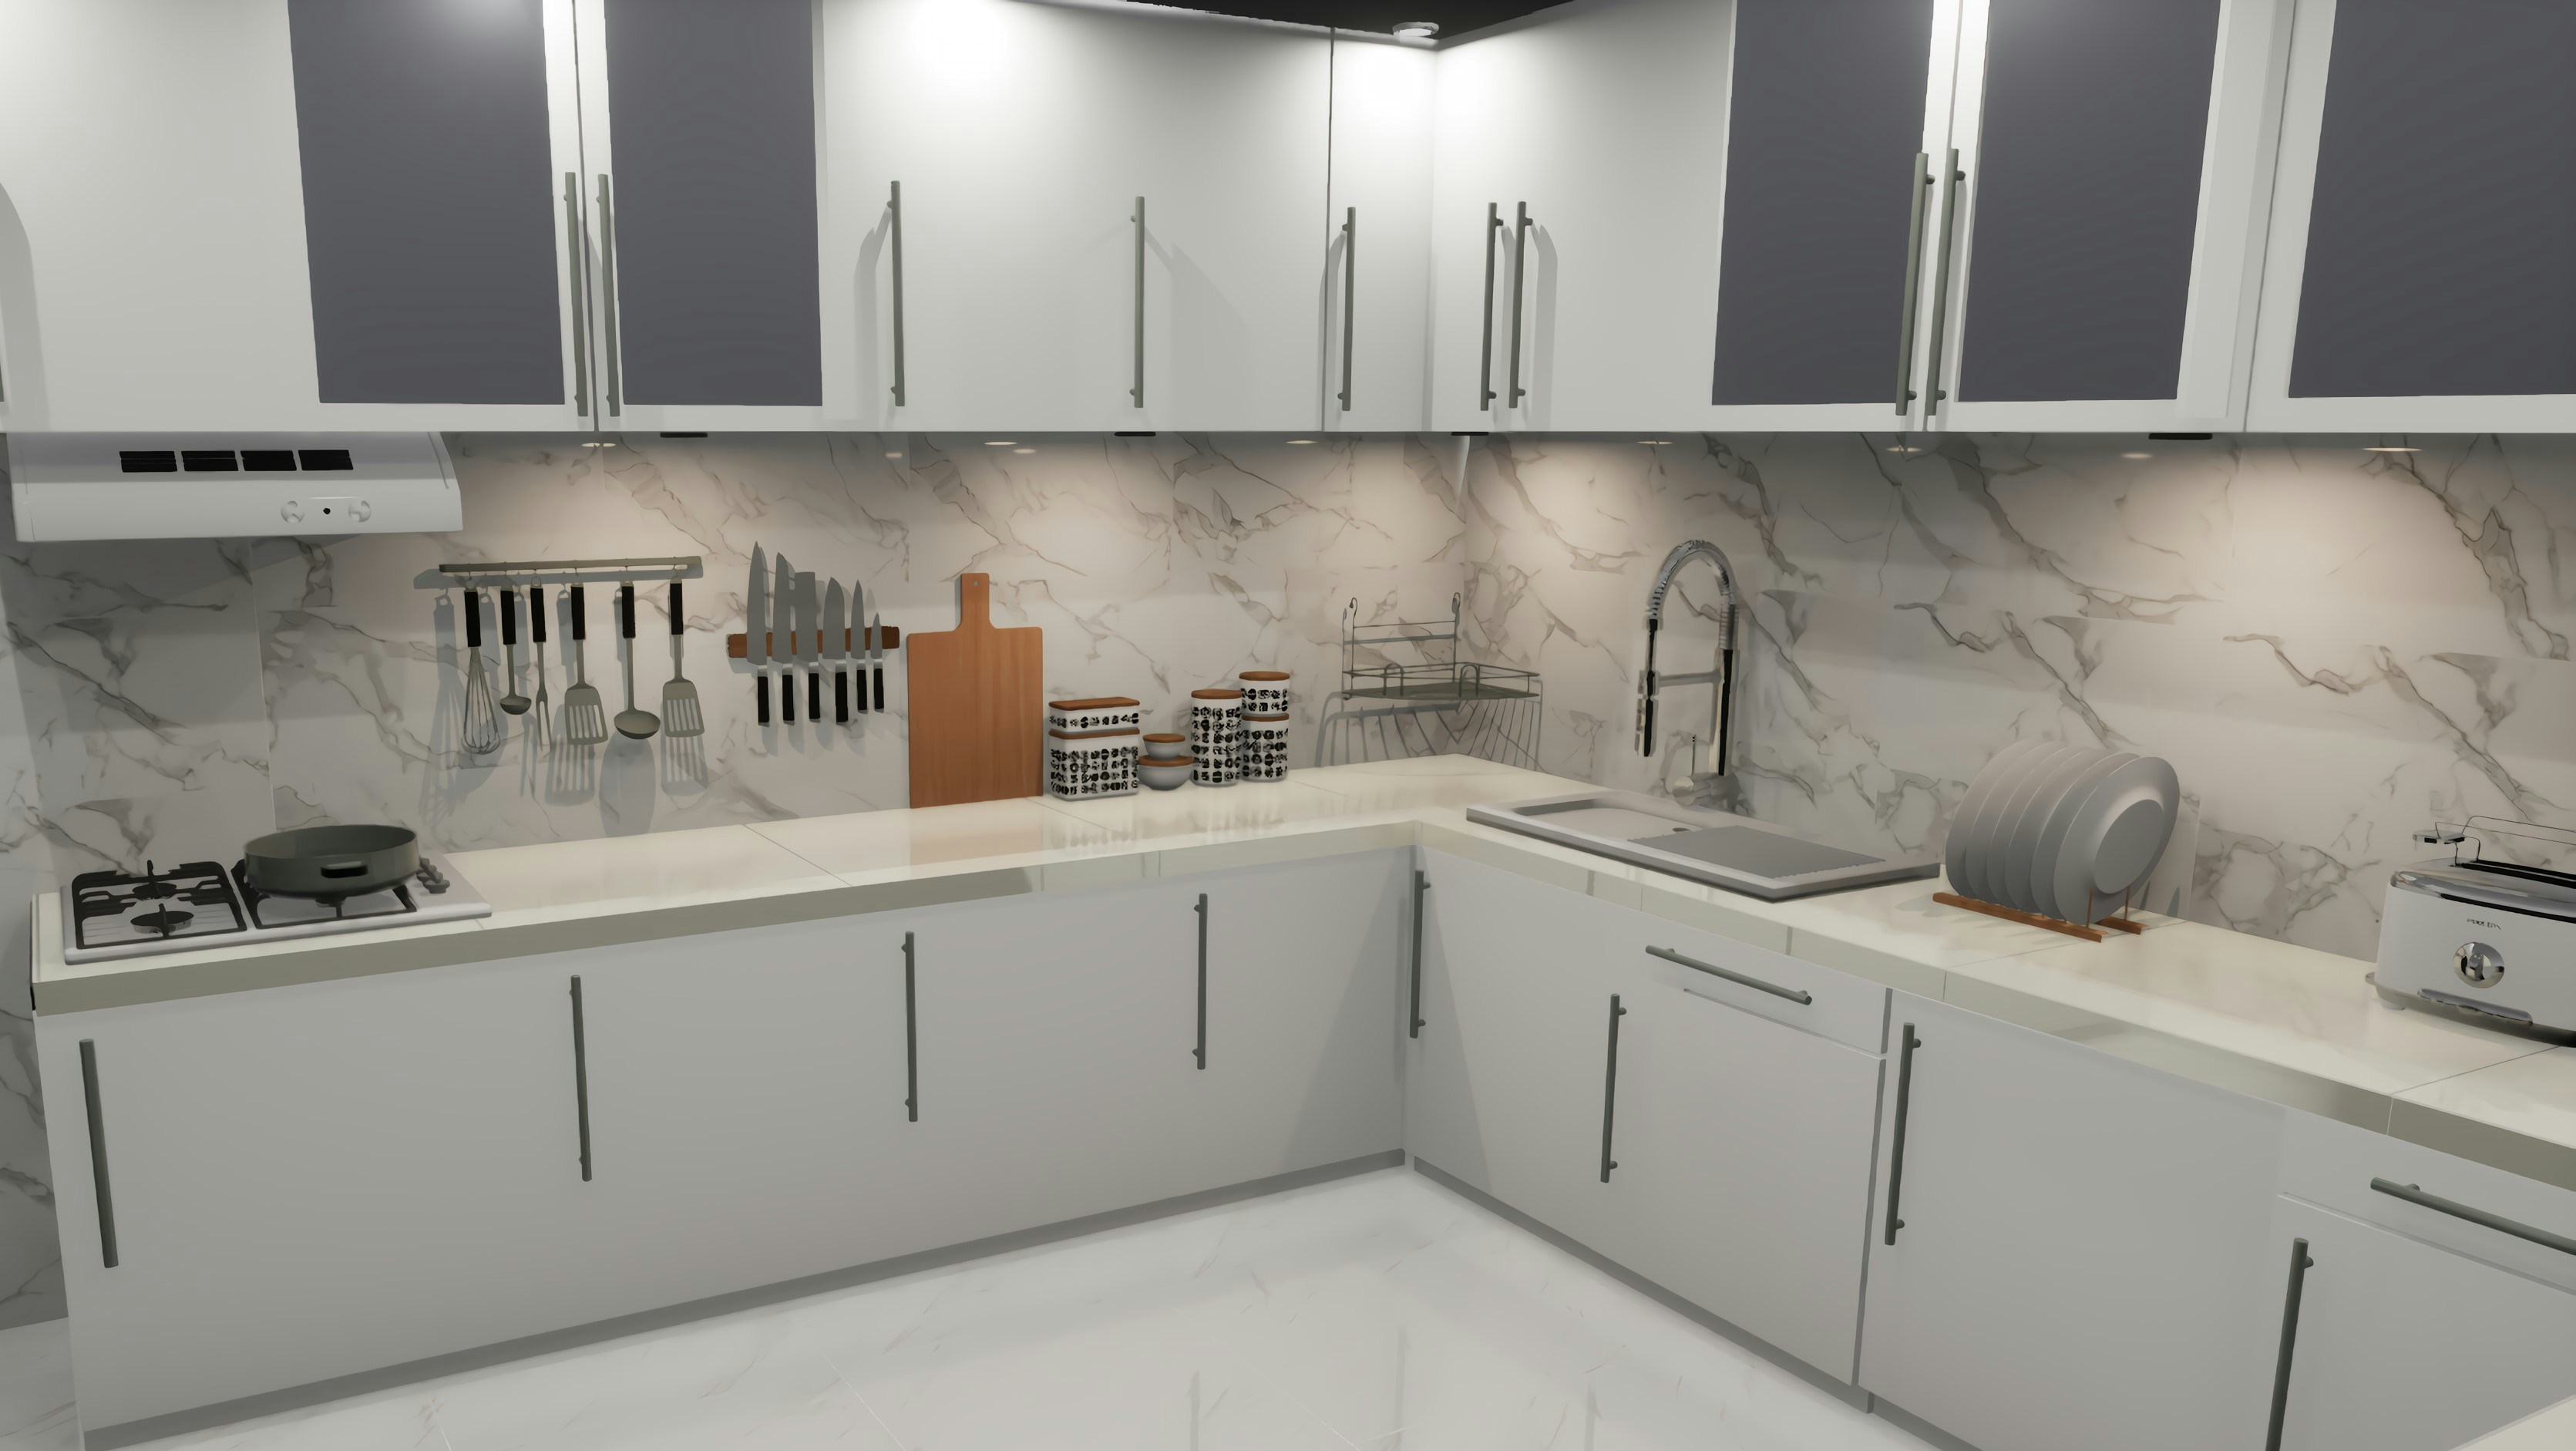
A splashback is a small quantity of material doing a large amount of work. It protects the wall between the benchtop and the overhead cabinets, it takes the heat and spatter behind the cooktop, and it is the band of colour your eye lands on from the other side of the room. Because it is installed after the benchtop is templated and fitted, every decision about it — material, height, setout, grout — has to be made early, even though the trade arrives late.
No obligation
This scope covers

01  Tiled splashbacks and setout

02  Stone and porcelain slab

03  Toughened glass panels

04  Full-height runs and window returns

05  Behind-cooktop material and clearances

06  Grout colour, silicone and junctions

Four materials, four behaviours

Each option is priced and installed differently. The choice is usually settled by how visible the wall is, how many joins you are willing to see, and what sits behind the cooktop.
A  Tile

Tiled

The widest range of colour, format and price, from subway and hexagon to handmade-look glaze. Grout lines are part of the design rather than a flaw, and a damaged tile can be cut out and replaced. Setout matters more than the tile itself.
B  Stone / porcelain

Slab

Cut from the same material as the benchtop, or deliberately contrasted. One continuous face, no grout, and a seamless junction where the bench meets the wall. Veining can be run through from bench to wall when the slab is selected for it.
C  Glass

Toughened glass

Back-painted to a chosen colour and made to measure from a site template, so cut-outs for power points land exactly. Wipes clean in one pass and suits a compact kitchen where a single flat plane keeps the wall quiet.

Matching slab, or a splashback that does the talking

Carrying the benchtop material up the wall makes the kitchen read as one surface: quieter, taller, and forgiving of a busy room. Choosing a different material does the opposite — the splashback becomes the band of pattern or colour the room is remembered for, and the cabinetry is left plain to let it work. Neither is more expensive by definition; the cost sits in slab area and cut-outs on one side, and in tile format, setout and labour on the other. Decide this during Kitchen Design, while the benchtop selection is still open.
Warm wood kitchen benchtop with a multicoloured tiled splashback, a small potted succulent, coffee appliances and decorative ceramic containers.

Reference photograph — a contrasting tile splashback set against a warm timber bench, grout line visible at close range

The decisions that make or break the finish

01  Height. The usual band runs from the benchtop to the underside of the overhead cabinets. Where there are no overheads, or where open shelving is planned, the material carries to the ceiling or stops on a line you have chosen rather than one left over.

02  Behind the cooktop. This section takes the most heat and the most cleaning. The material and the clearances have to suit the appliance being installed, so the cooktop is selected before the splashback is ordered — not after.

03  Window returns. Where a window sits in the splashback zone, the reveal is either tiled, stone-lined or finished in paint. Deciding early keeps the sill, the jamb and the bench line agreeing with each other.

04  Setout. A tiled wall is set out from the cooktop centre or the strongest sightline, so cuts fall at the ends and a half tile never lands beside the rangehood. Power points and switches are positioned to sit within a tile or a join, not across one.

05  Grout and silicone. Grout colour changes a splashback more than most people expect: matched grout hides the grid, contrasting grout draws it. The junction to the benchtop is a flexible silicone line, colour-matched, so movement never cracks the finish.

Where it sits in the build

Splashback is stage ten, and it depends on stage nine

A clean junction between wall and bench is only possible when the benchtop is already down, level and cured. Fitting the splashback first guarantees a gap that has to be filled rather than a line that was planned. The full sequence is set out in our 12-step renovation process.

07  PreparationWall made flat & true

08  CabinetryRuns levelled & fixed

09  BenchtopsTemplated & installed

10  SplashbackSet out, fixed, grouted

11  FinishingSilicone, trims, fit-off

Quote request — Murrumbeena VIC

Tell us the wall, the cooktop and the look you are after.

Send through the room and what you have in mind for the splashback, and we will come back with a written scope covering material, height, setout and installation — for Murrumbeena, Carnegie, Hughesdale, Oakleigh, Chadstone, Malvern East, Bentleigh East, Ormond and McKinnon.
No obligation
Questions before you are ready to quote? Contact us or browse the full scope of works.